The Course
A hole by hole guide to our 3000 yard Par 35 Golf Course

Hole 1/10
Yardage: White 320, Yellow 312, Red 304
Par 4
Stroke Index 9/10
Walkthrouugh
Hole 2/11
Yardage: White 568, Yellow 554, Red489
Par 5
Stroke Index 1/2
Walkthrough
Hole 3/12
Yardage: White 182, yellow 178, Red 174
Par 3
Stroke Index 11/12
Walkthrough
Hole 4/13
Yardage: White 336, Yellow 328, Red 319
Par 4
Stroke Index 13/14
Walkthrough
Hole 5/14
Yardage: White 132, Yellow 125, Red 118
Par 3
Stroke Index 17/18
Walkthrough
Hole 6/15
Yardage: White 502, Yellow 470, Red 418
Par 5
Stroke Index 15/16
Walkthrough
Hole 7/15
Yardage: White 348, Yellow 338, Red 273
Par 4
Stroke Index 5/6
Walkthrough
Hole 8/17
Yardage: White 208, Yellow 200, Red 195
Par 3
Stroke Index 3/4
Walkthrough
Hole 9/18
Yardage: White 357, Yellow 350 Red 343
Par 4
Stroke Index 7/8
Walkthrough
Hole by Hole Walkthrough
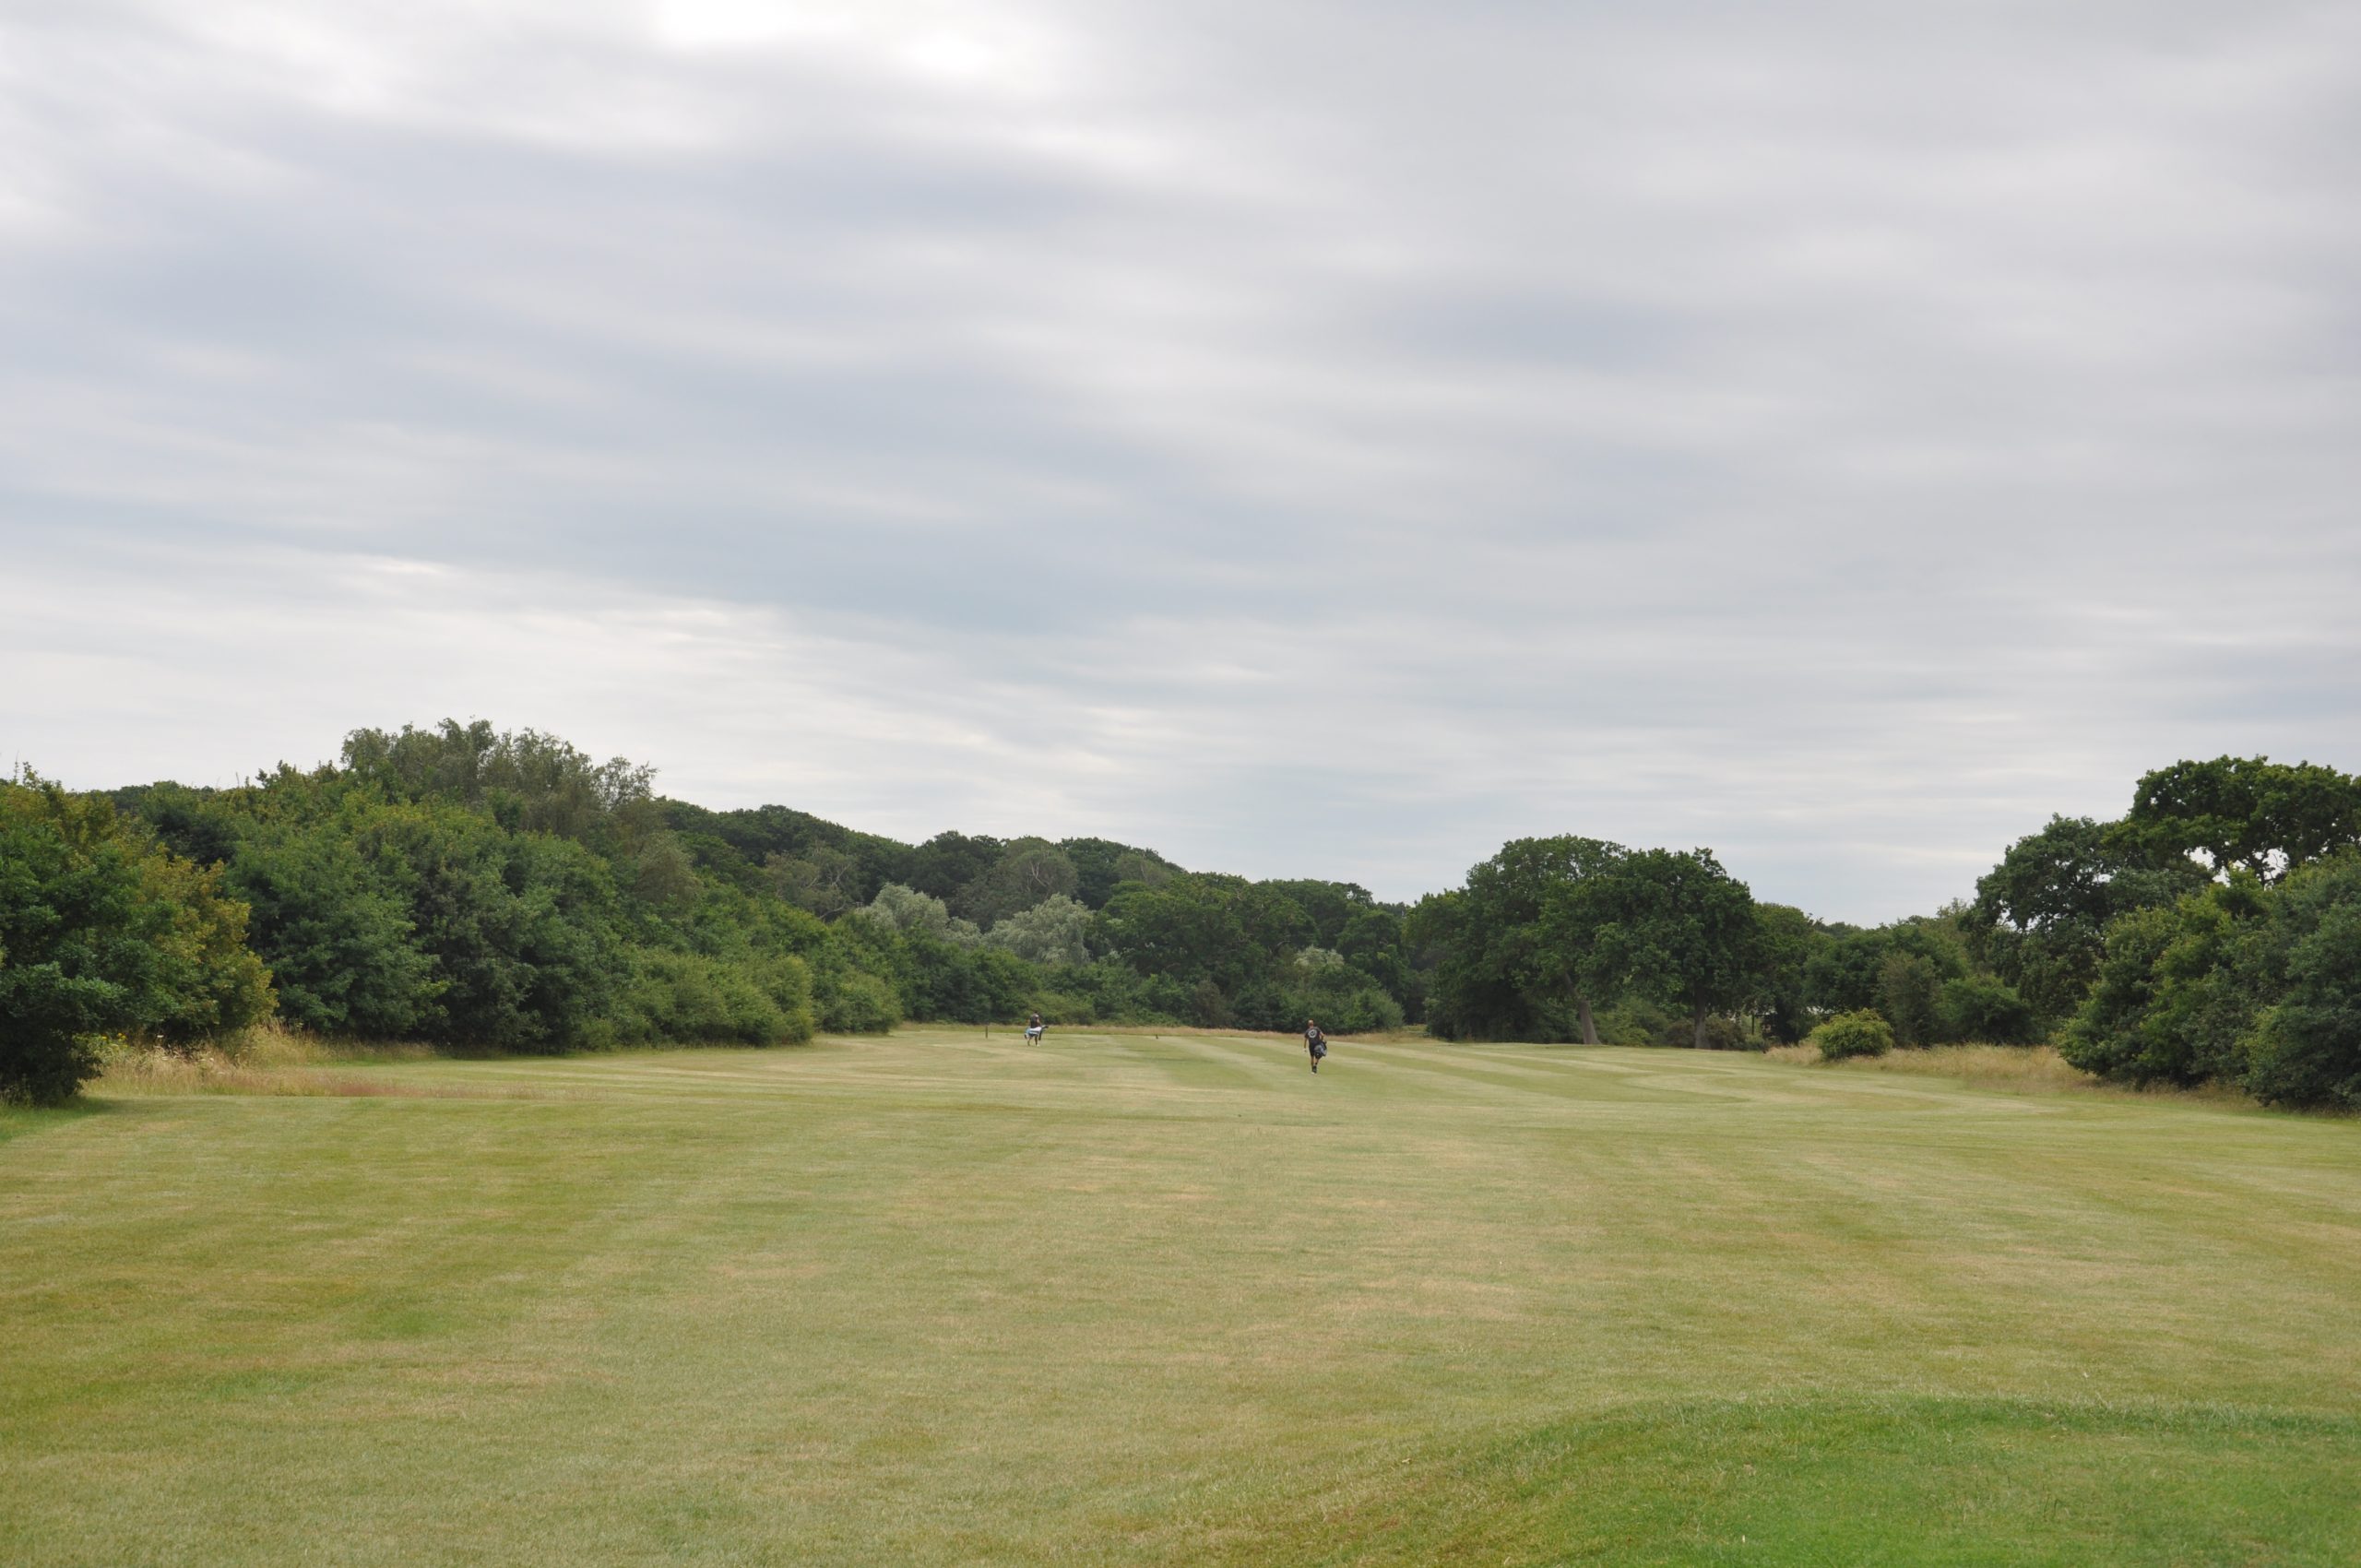
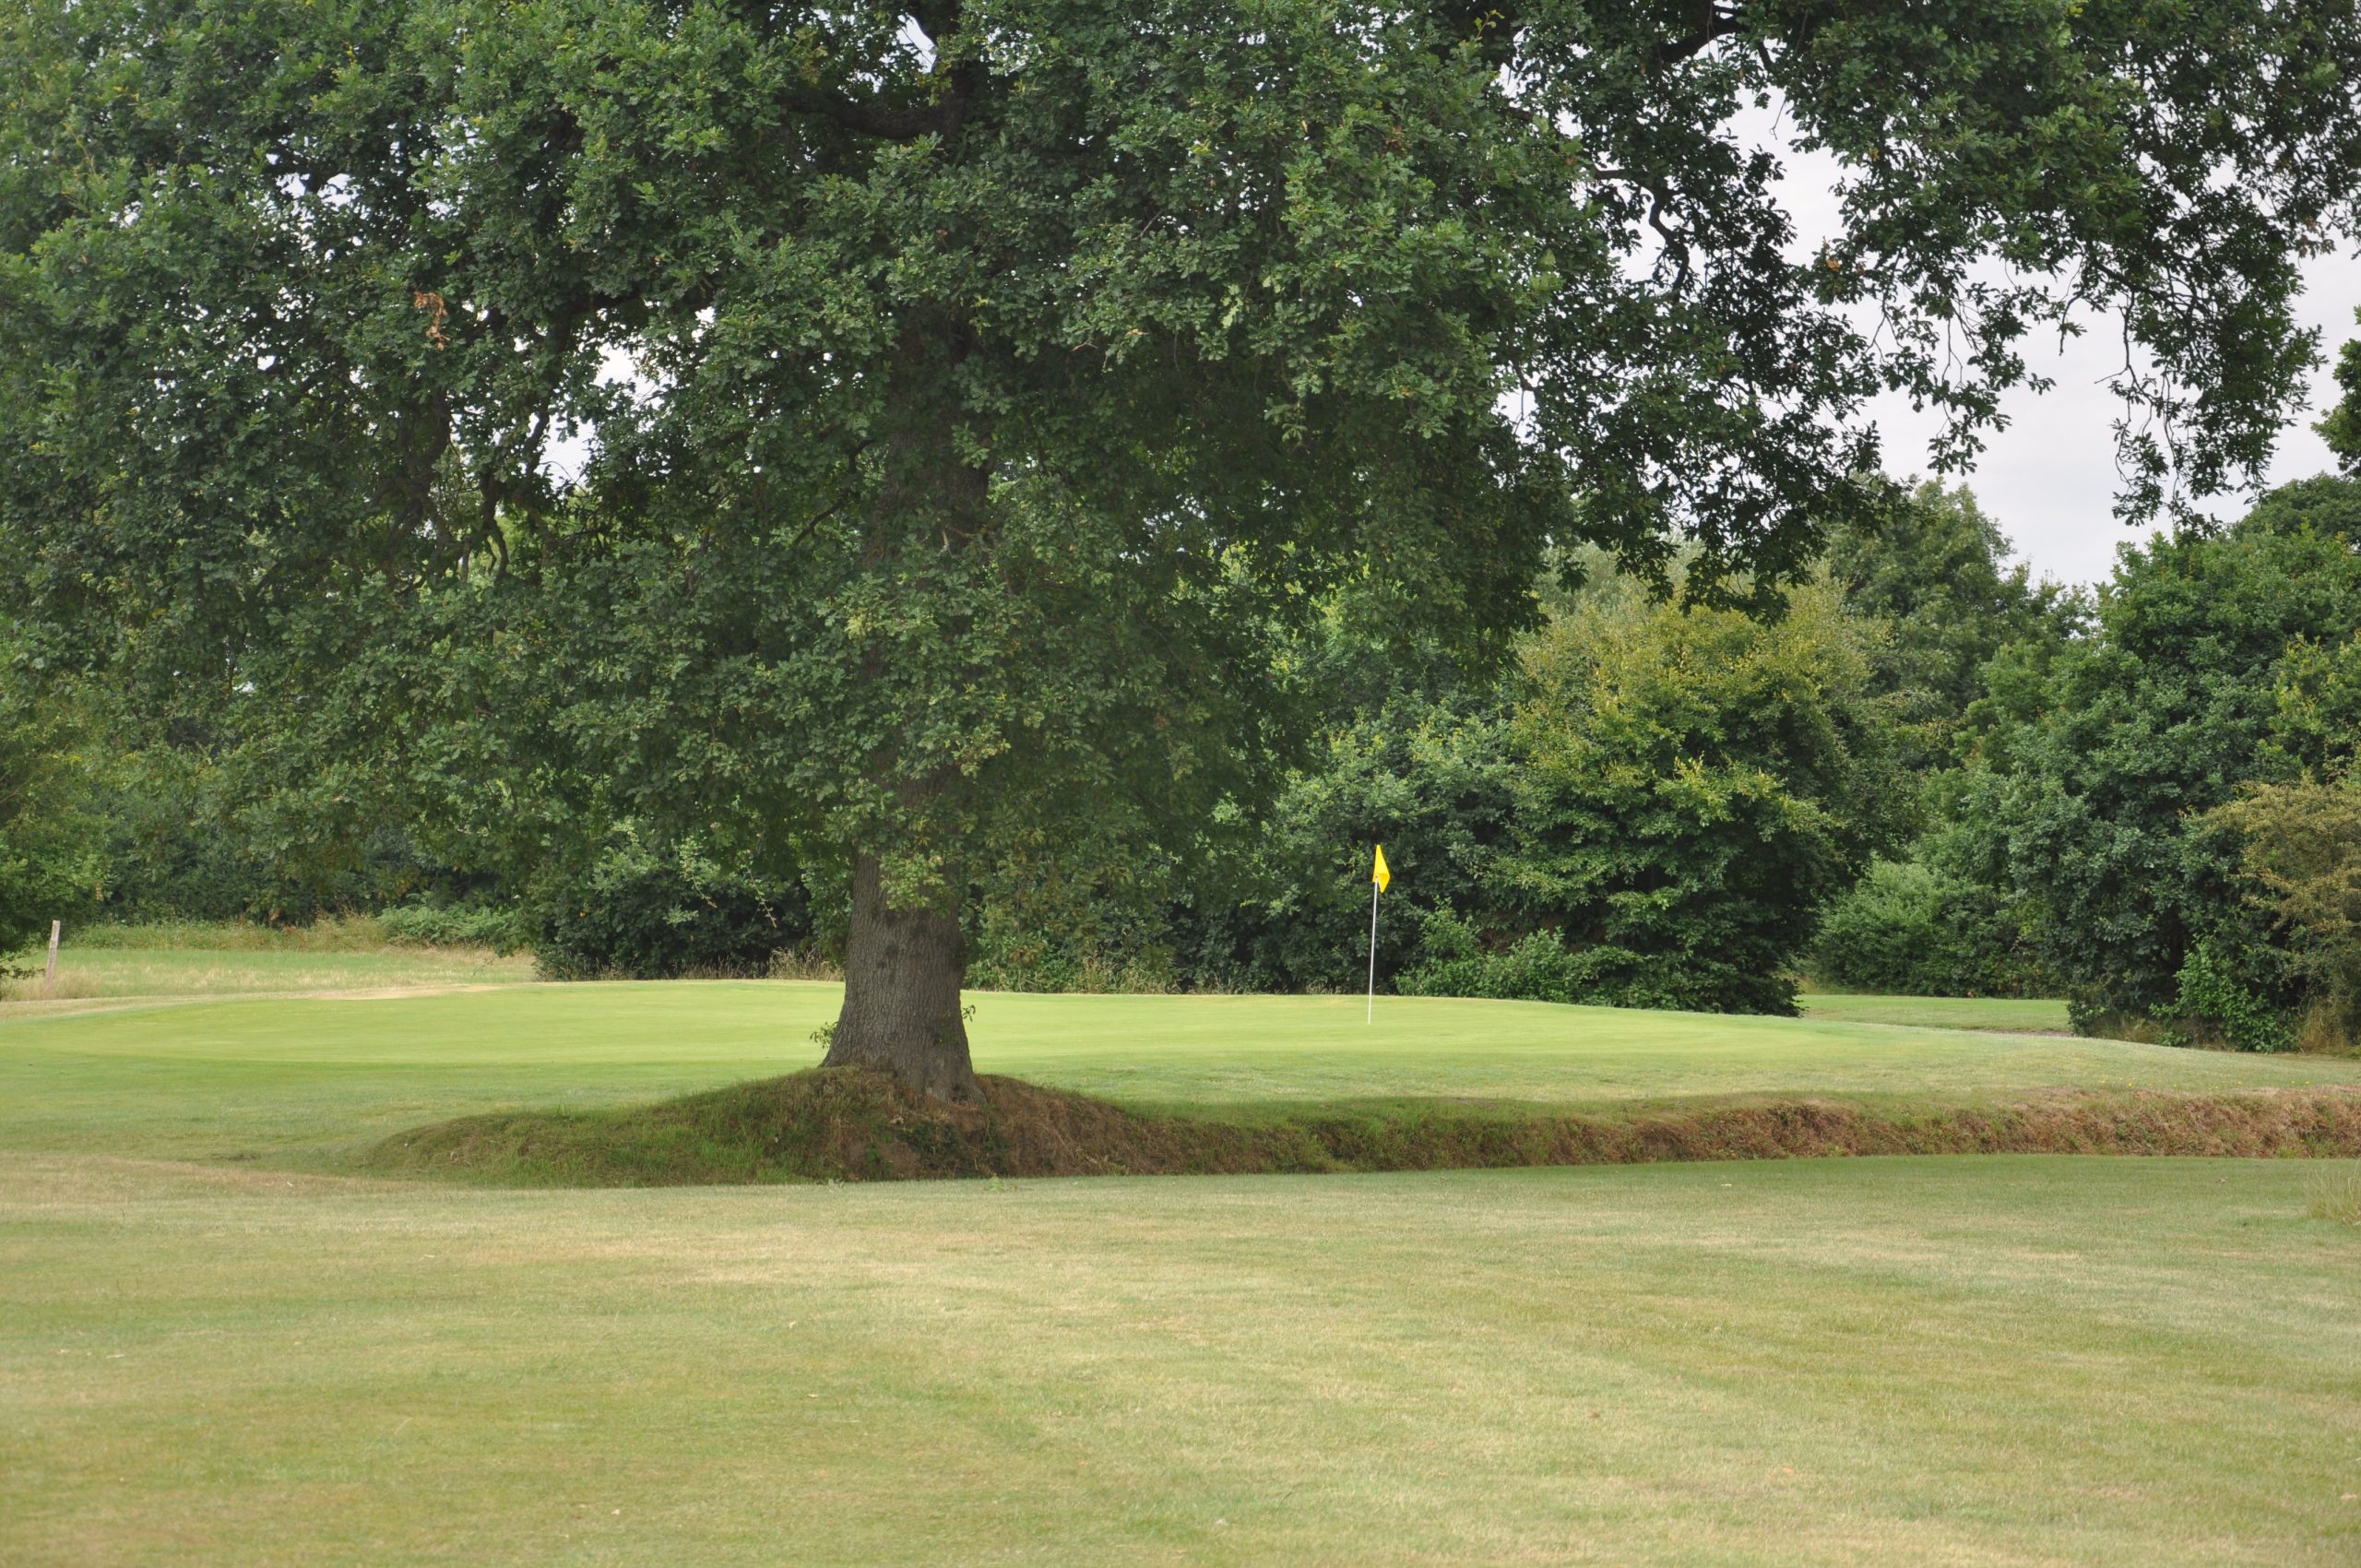
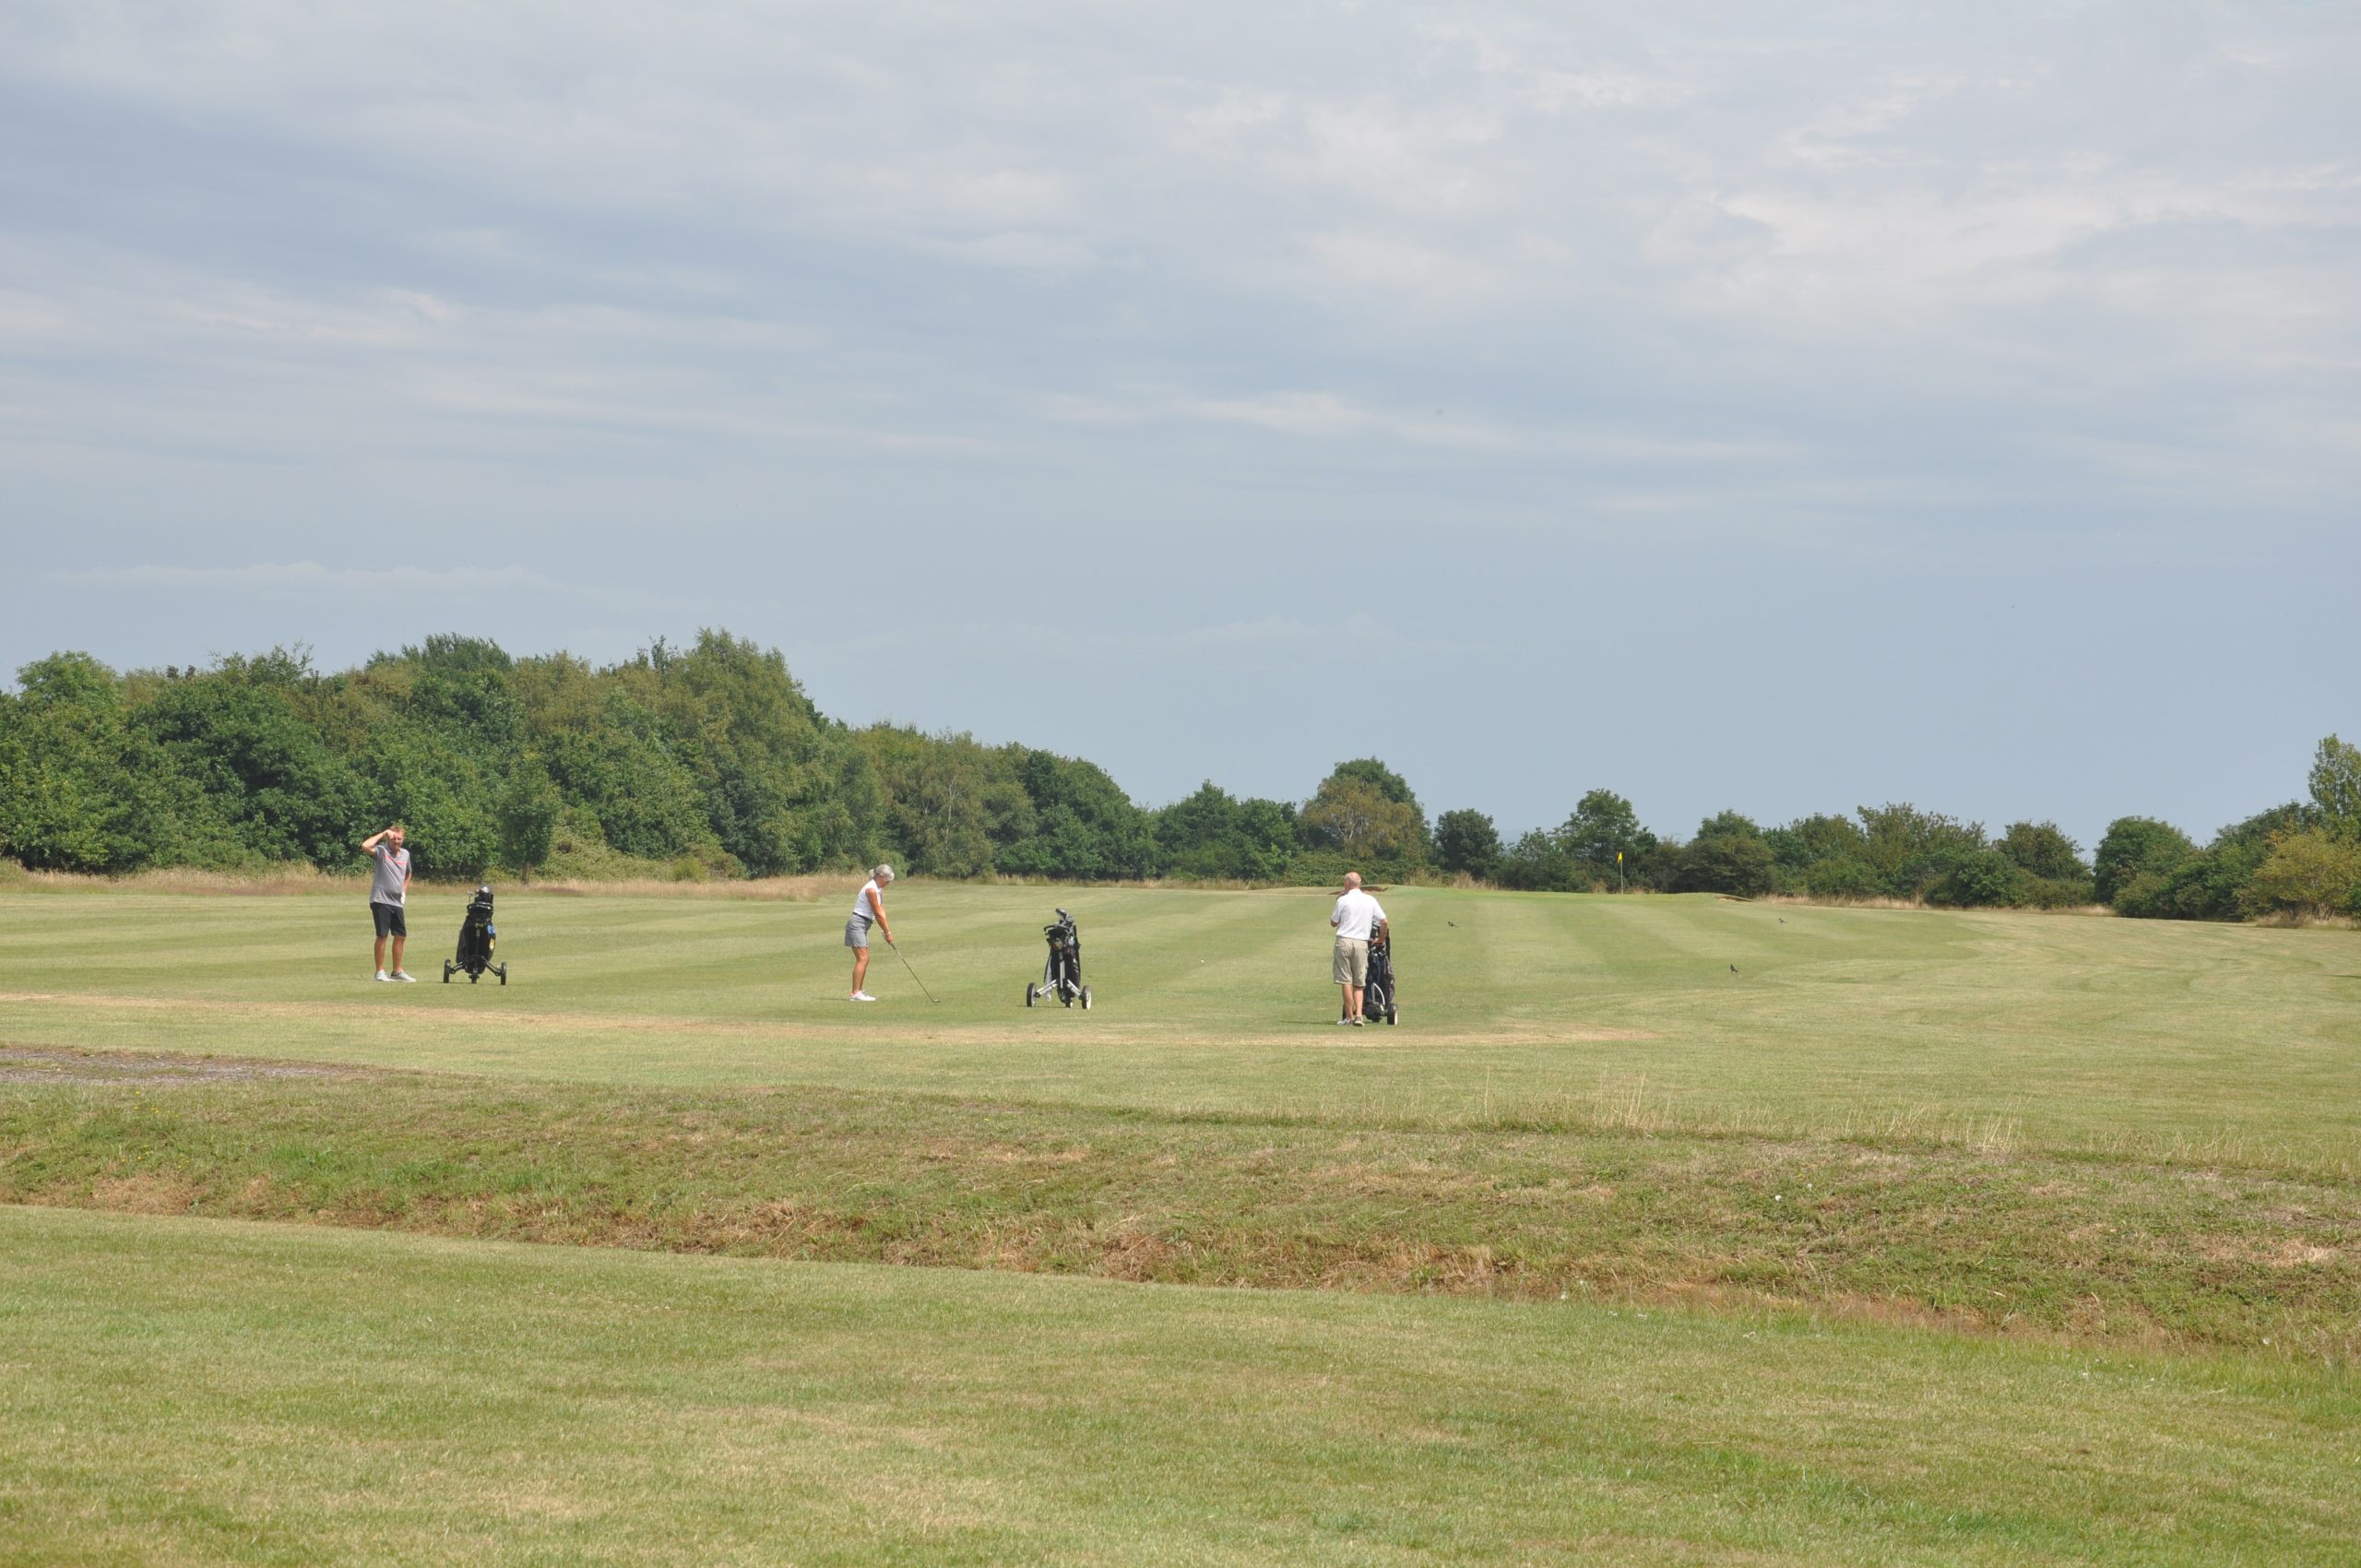
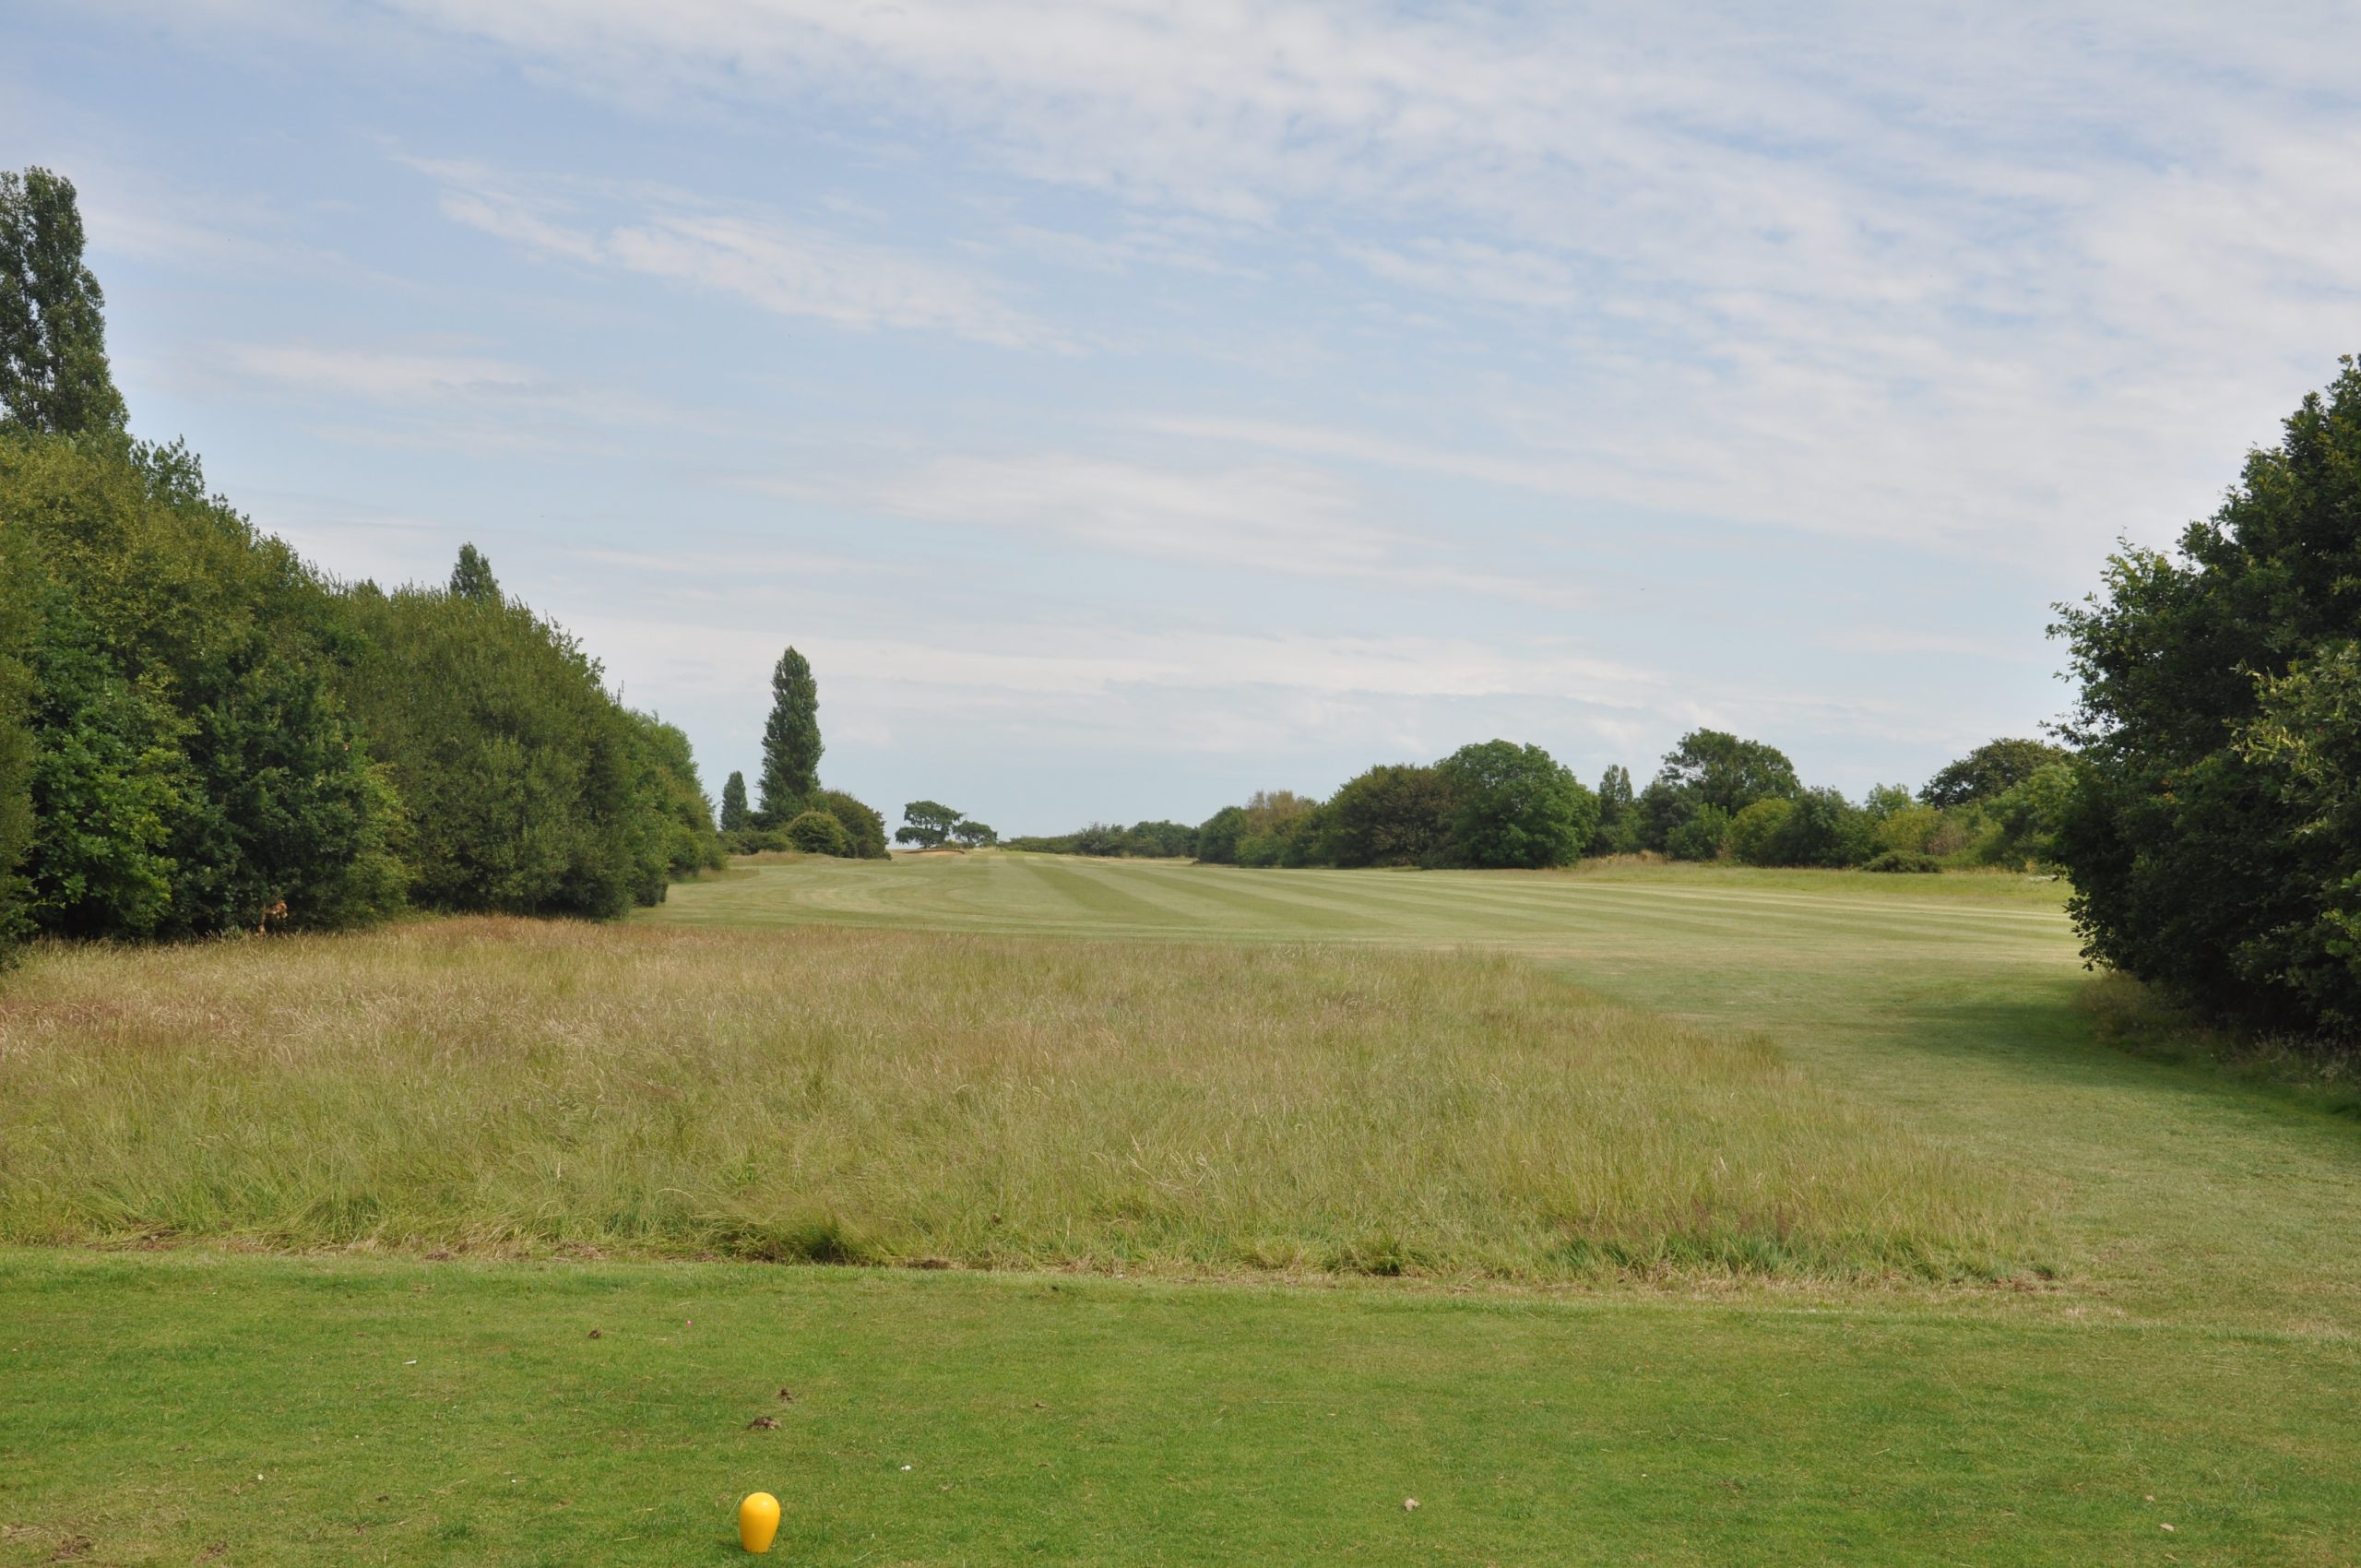
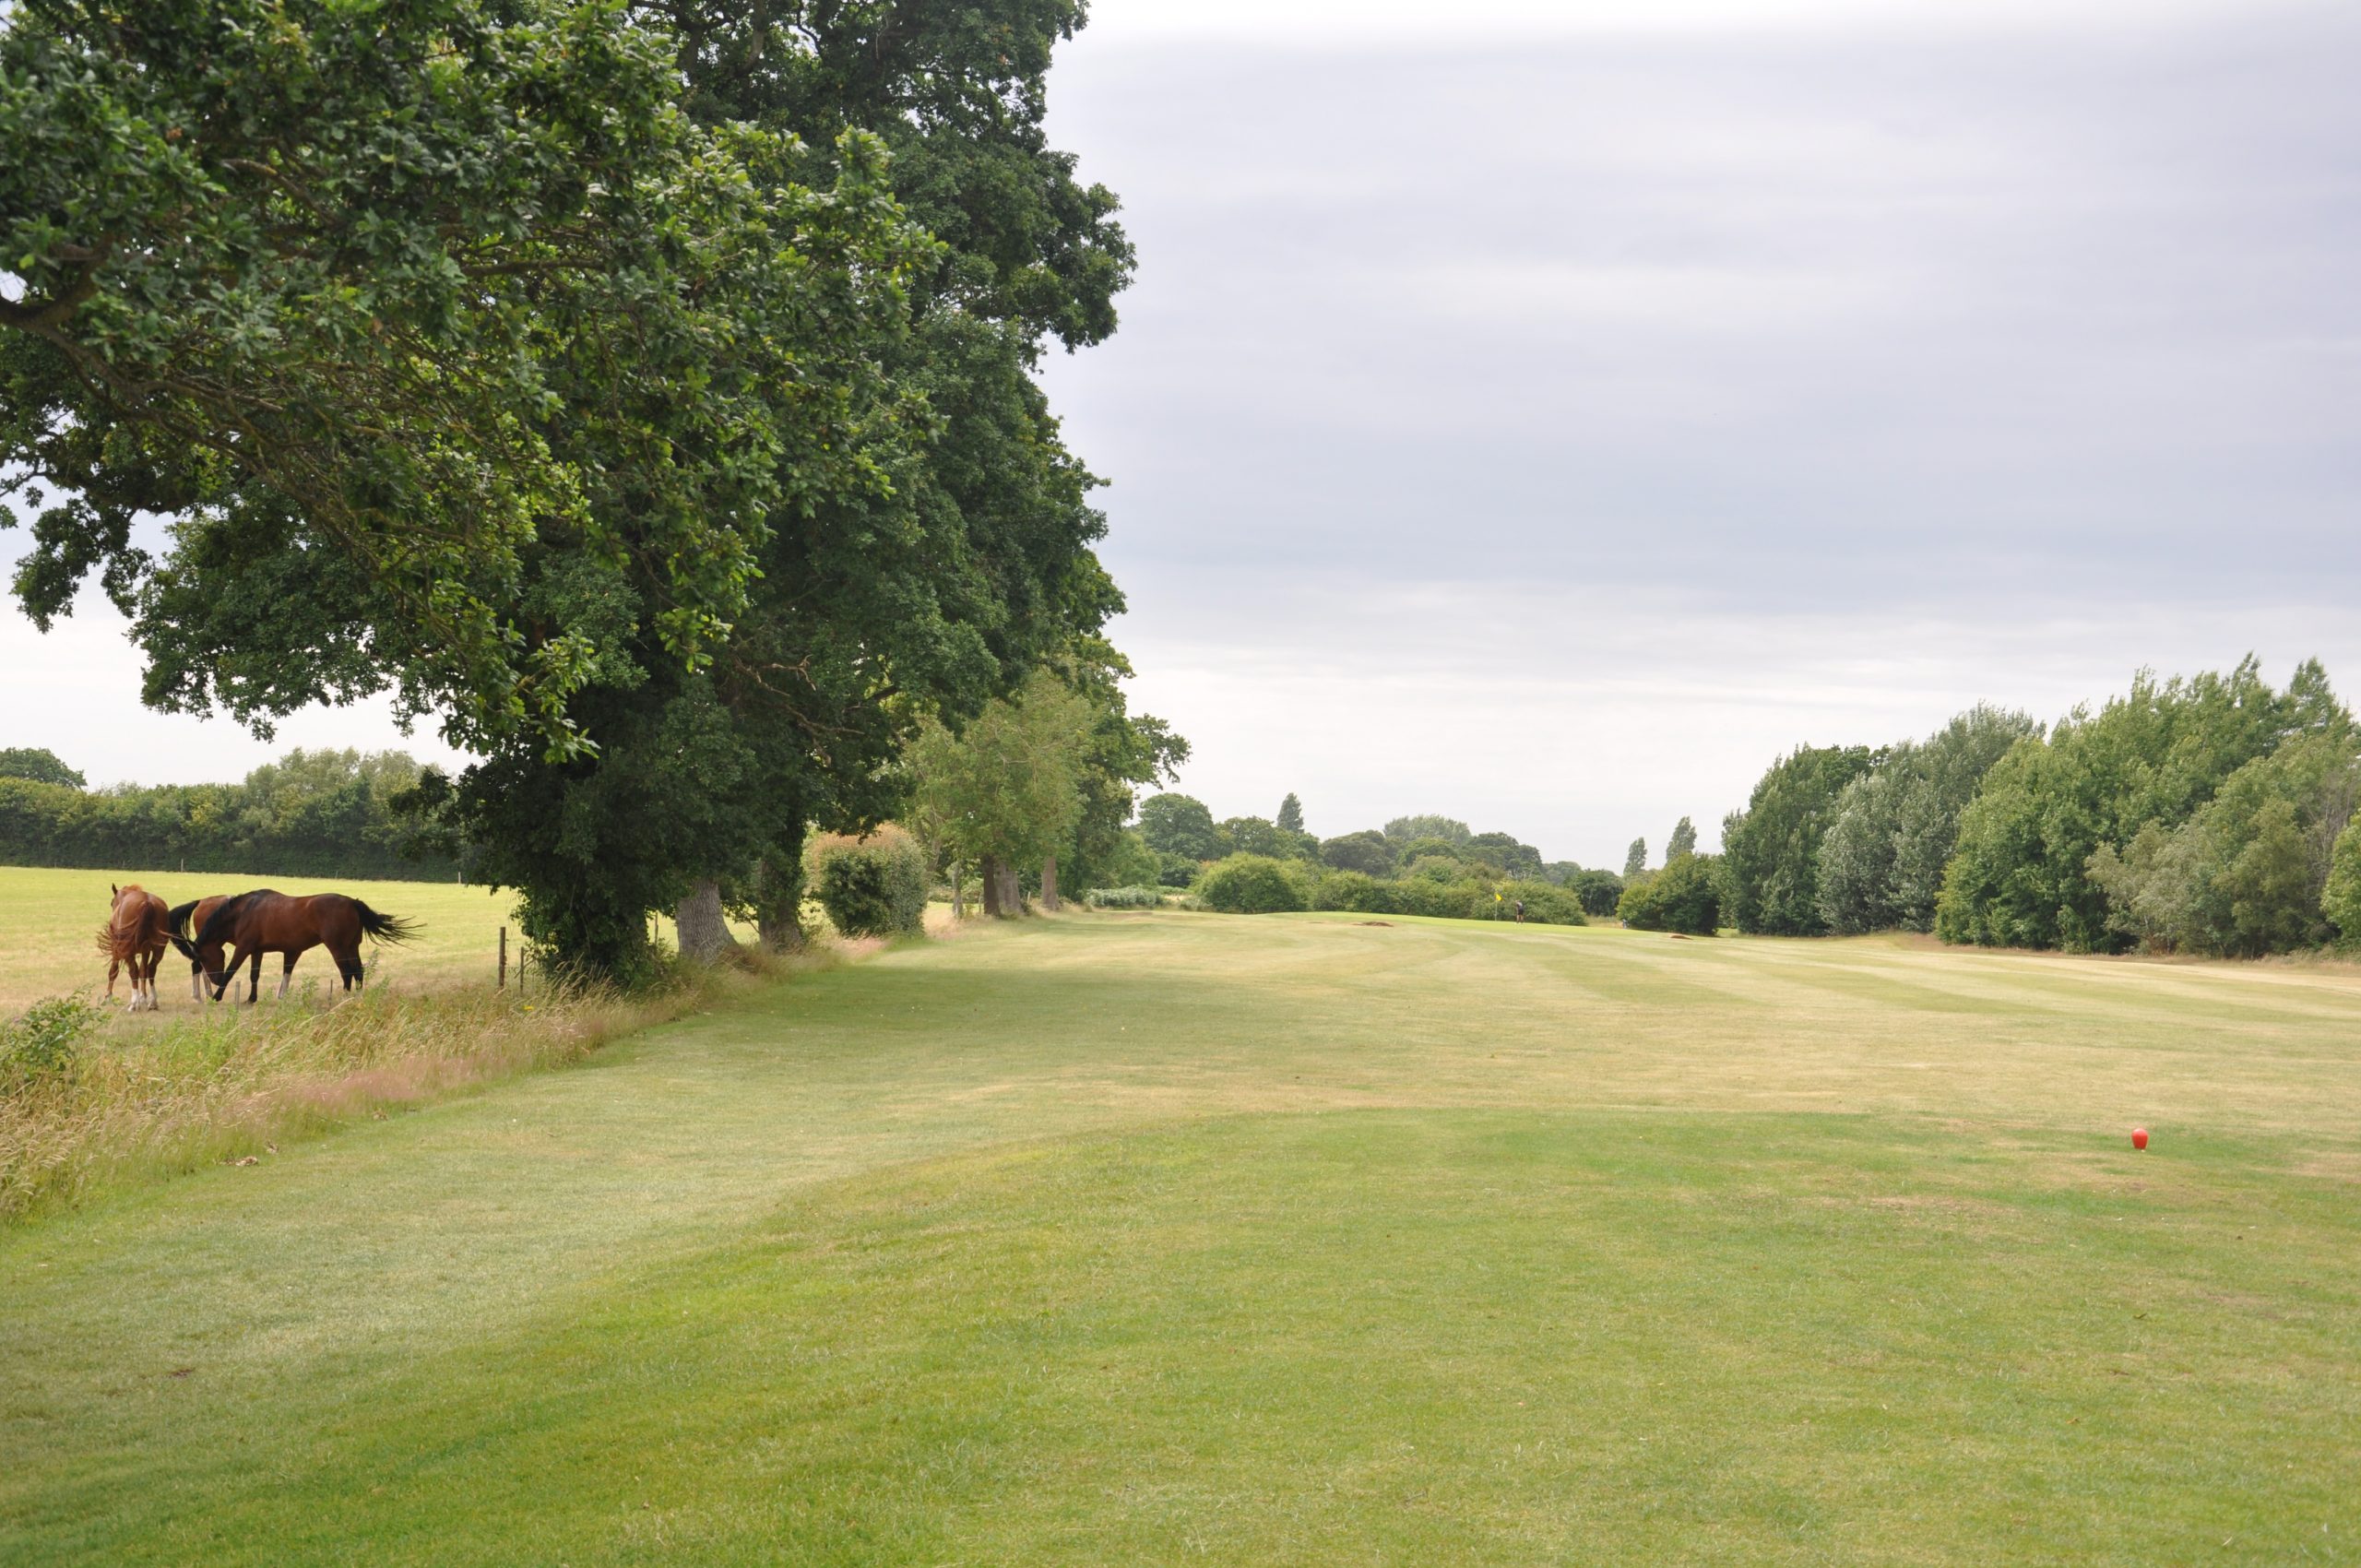
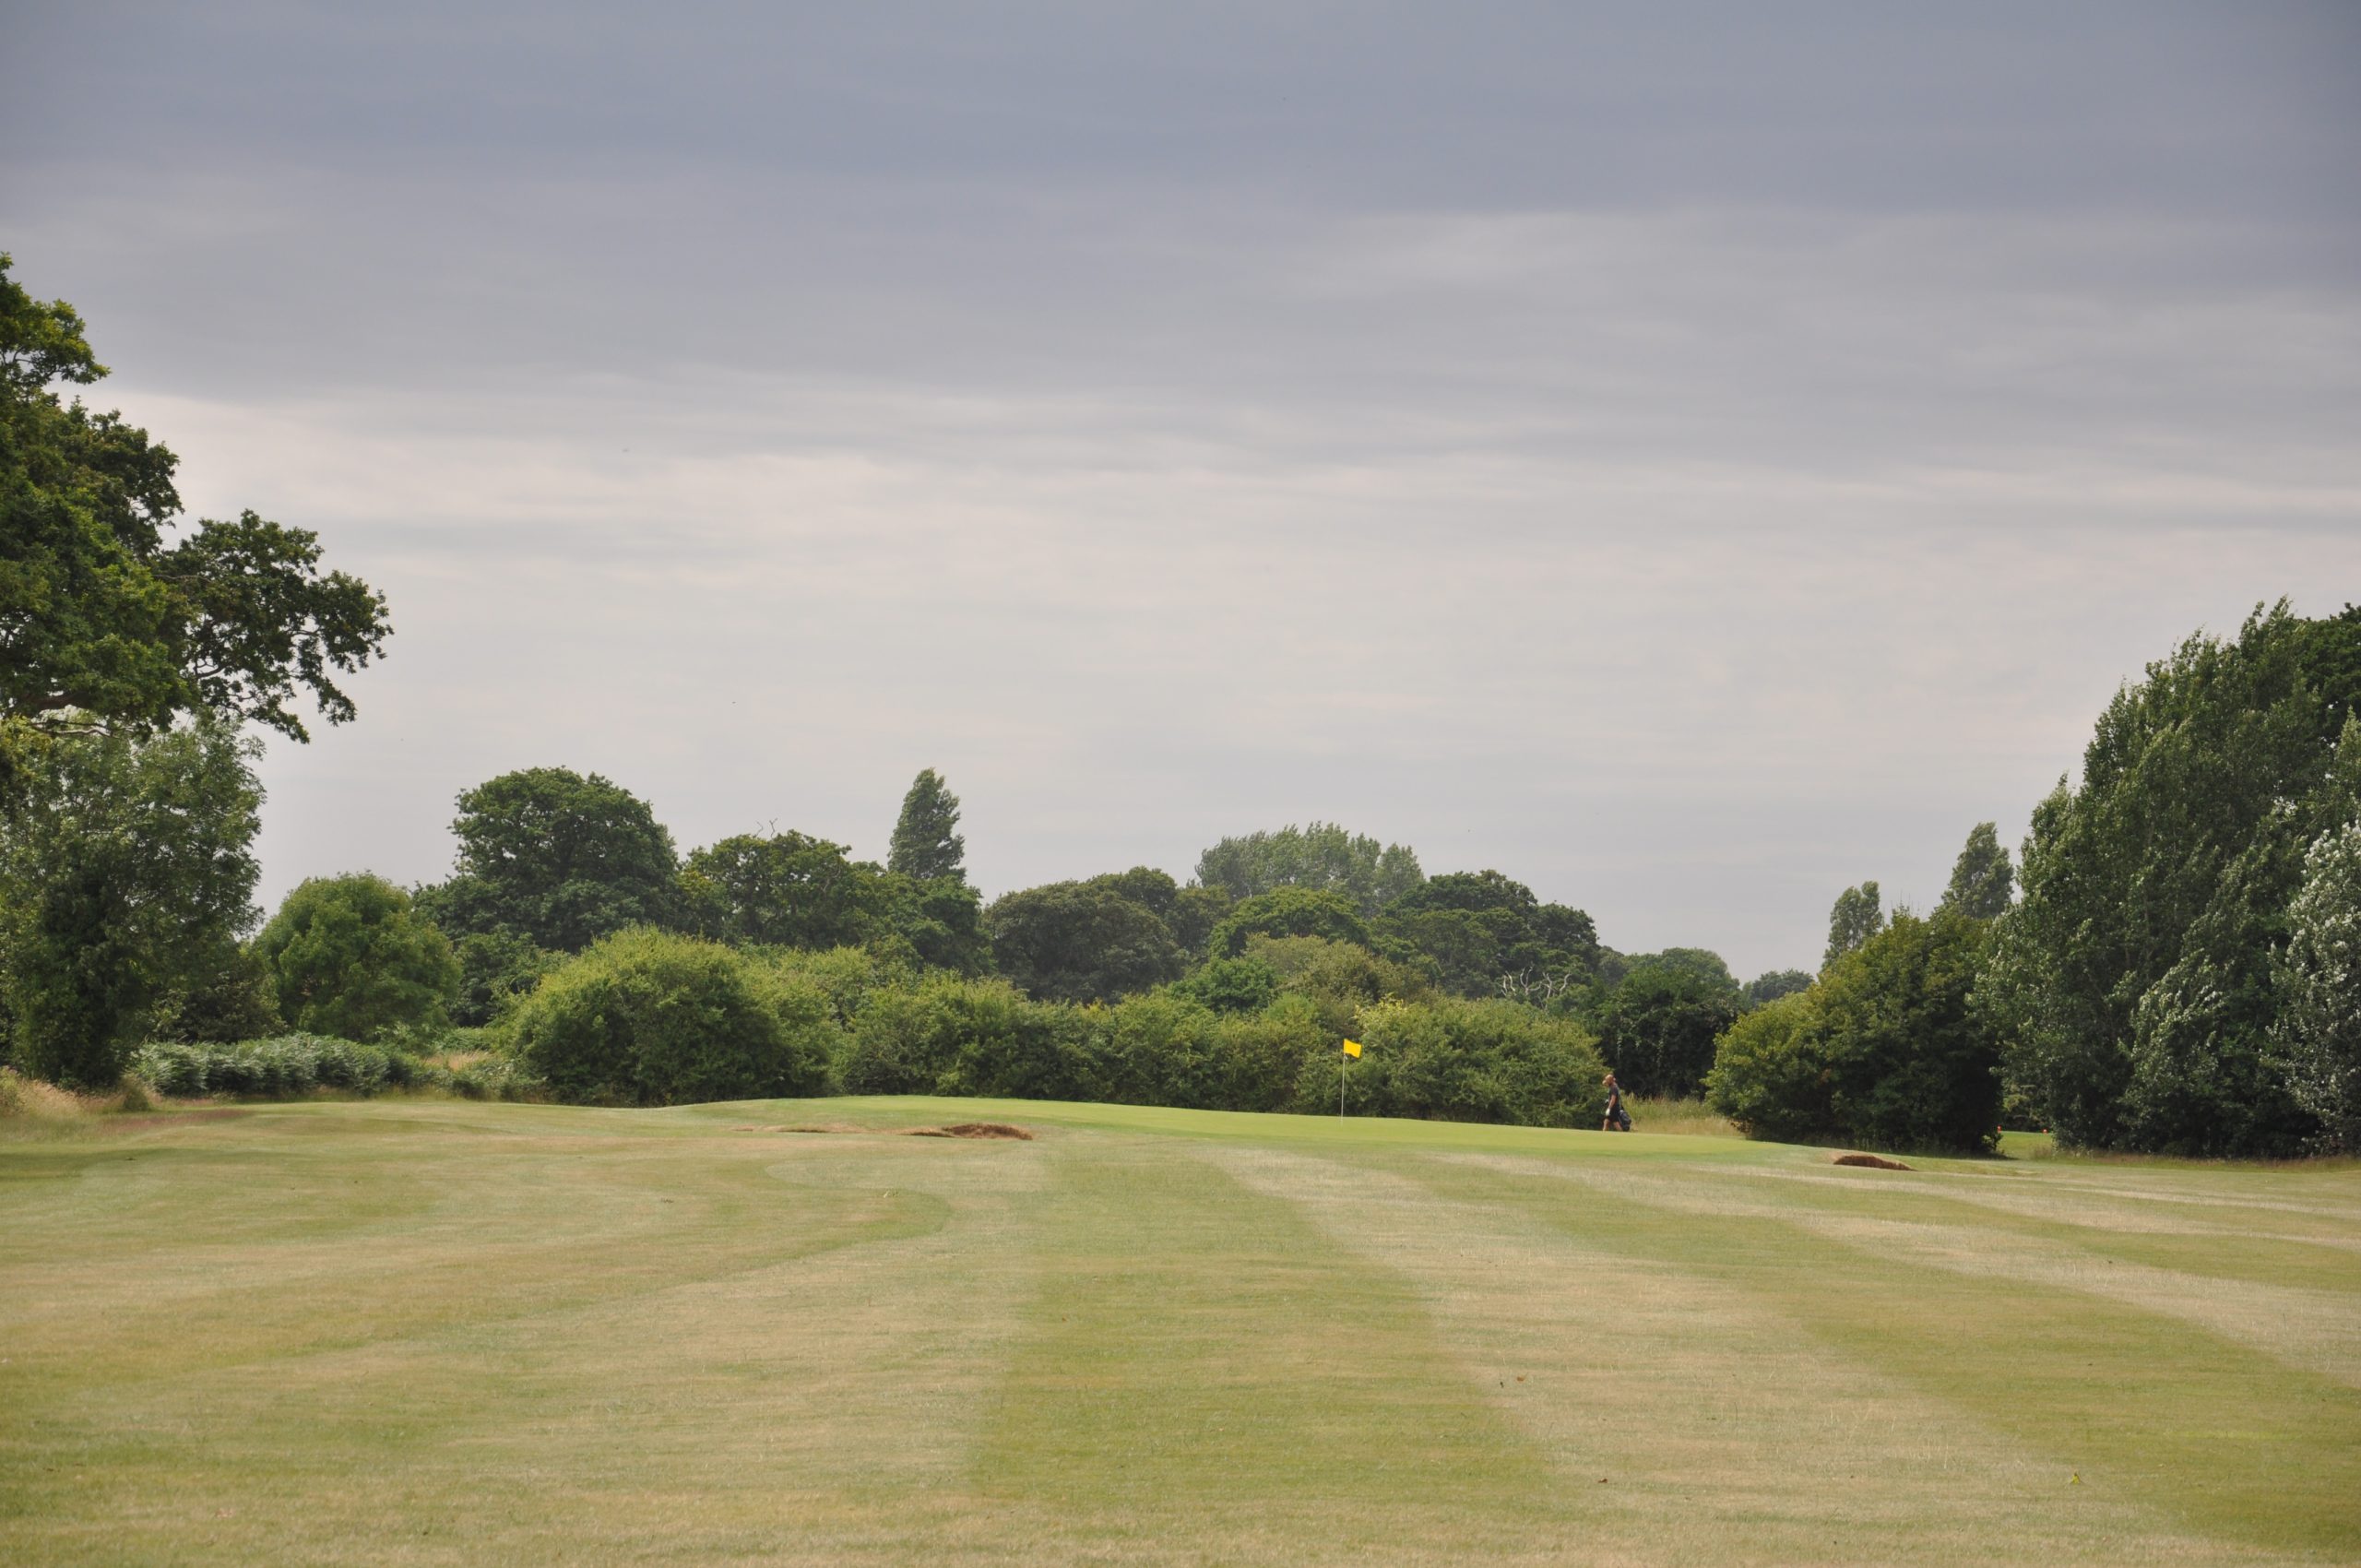
Hole 1 and 10 Par 4
Yardage: White 320, Yellow 312, Red 304
Stroke index: 9 & 10
Lovely wide fairway with out of bounds over the white posts to the right and boundary fences to the left. There is a fairway bunker on the right hand side at about 220 yards.
The green itself is protected by a beautiful oak tree and a ditch which runs parallel to the green

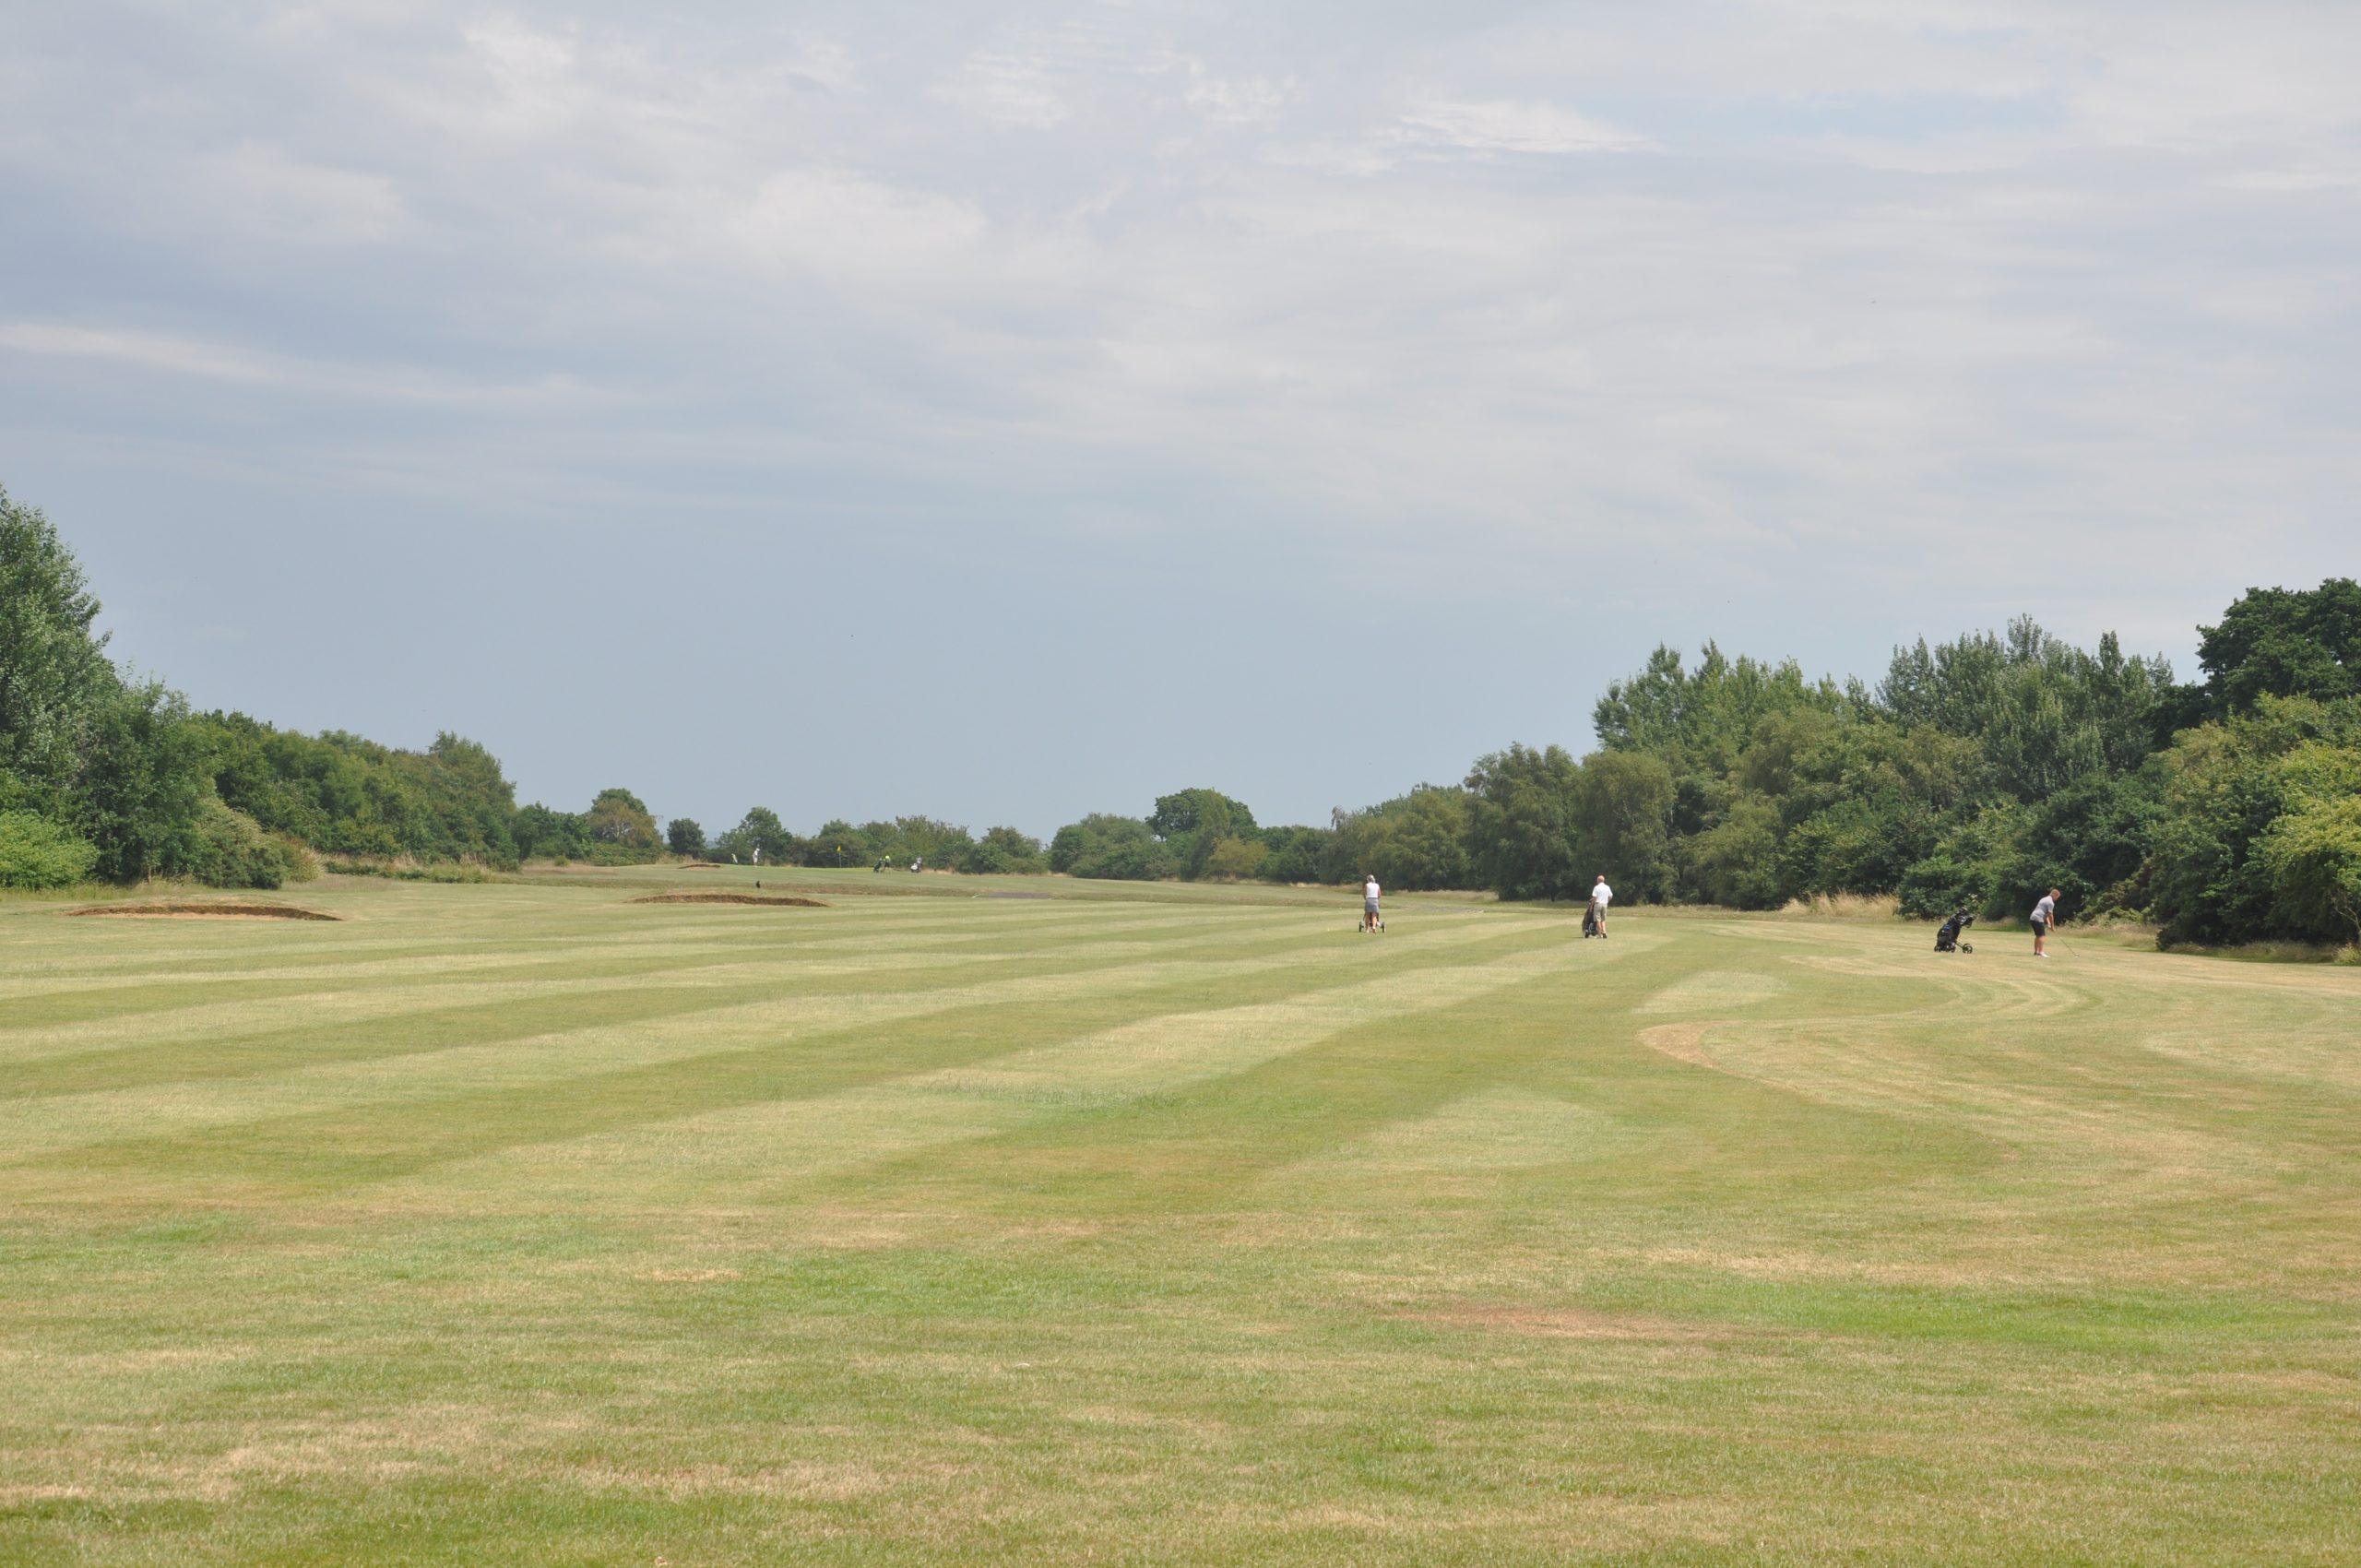
Hole 2 and 11 Par 5
Yardage: White 568, Yellow 554, Red 489
Stroke index: 1 & 2
The longest hole on the course. A wide fairway with out of bounds over the white posts on the right hand side.
There are two fairway bunkers on the left hand side of the fairway and a ditch at about 320 yards from the tee. There is also fairly thick rough awaiting the wayward shot on the right of the fairway.
Beware of the two bunkers waiting at the front of the green which is slightly offset to the left.
Hole 3 and 12 Par 3
Yardage: White 182, Yellow 178, Red 174
Stroke index: 11 & 12
A challenging par 3. A ditch runs across the fairway.
Two bunkers left and right protect the green. Check the wind direction before teeing off.
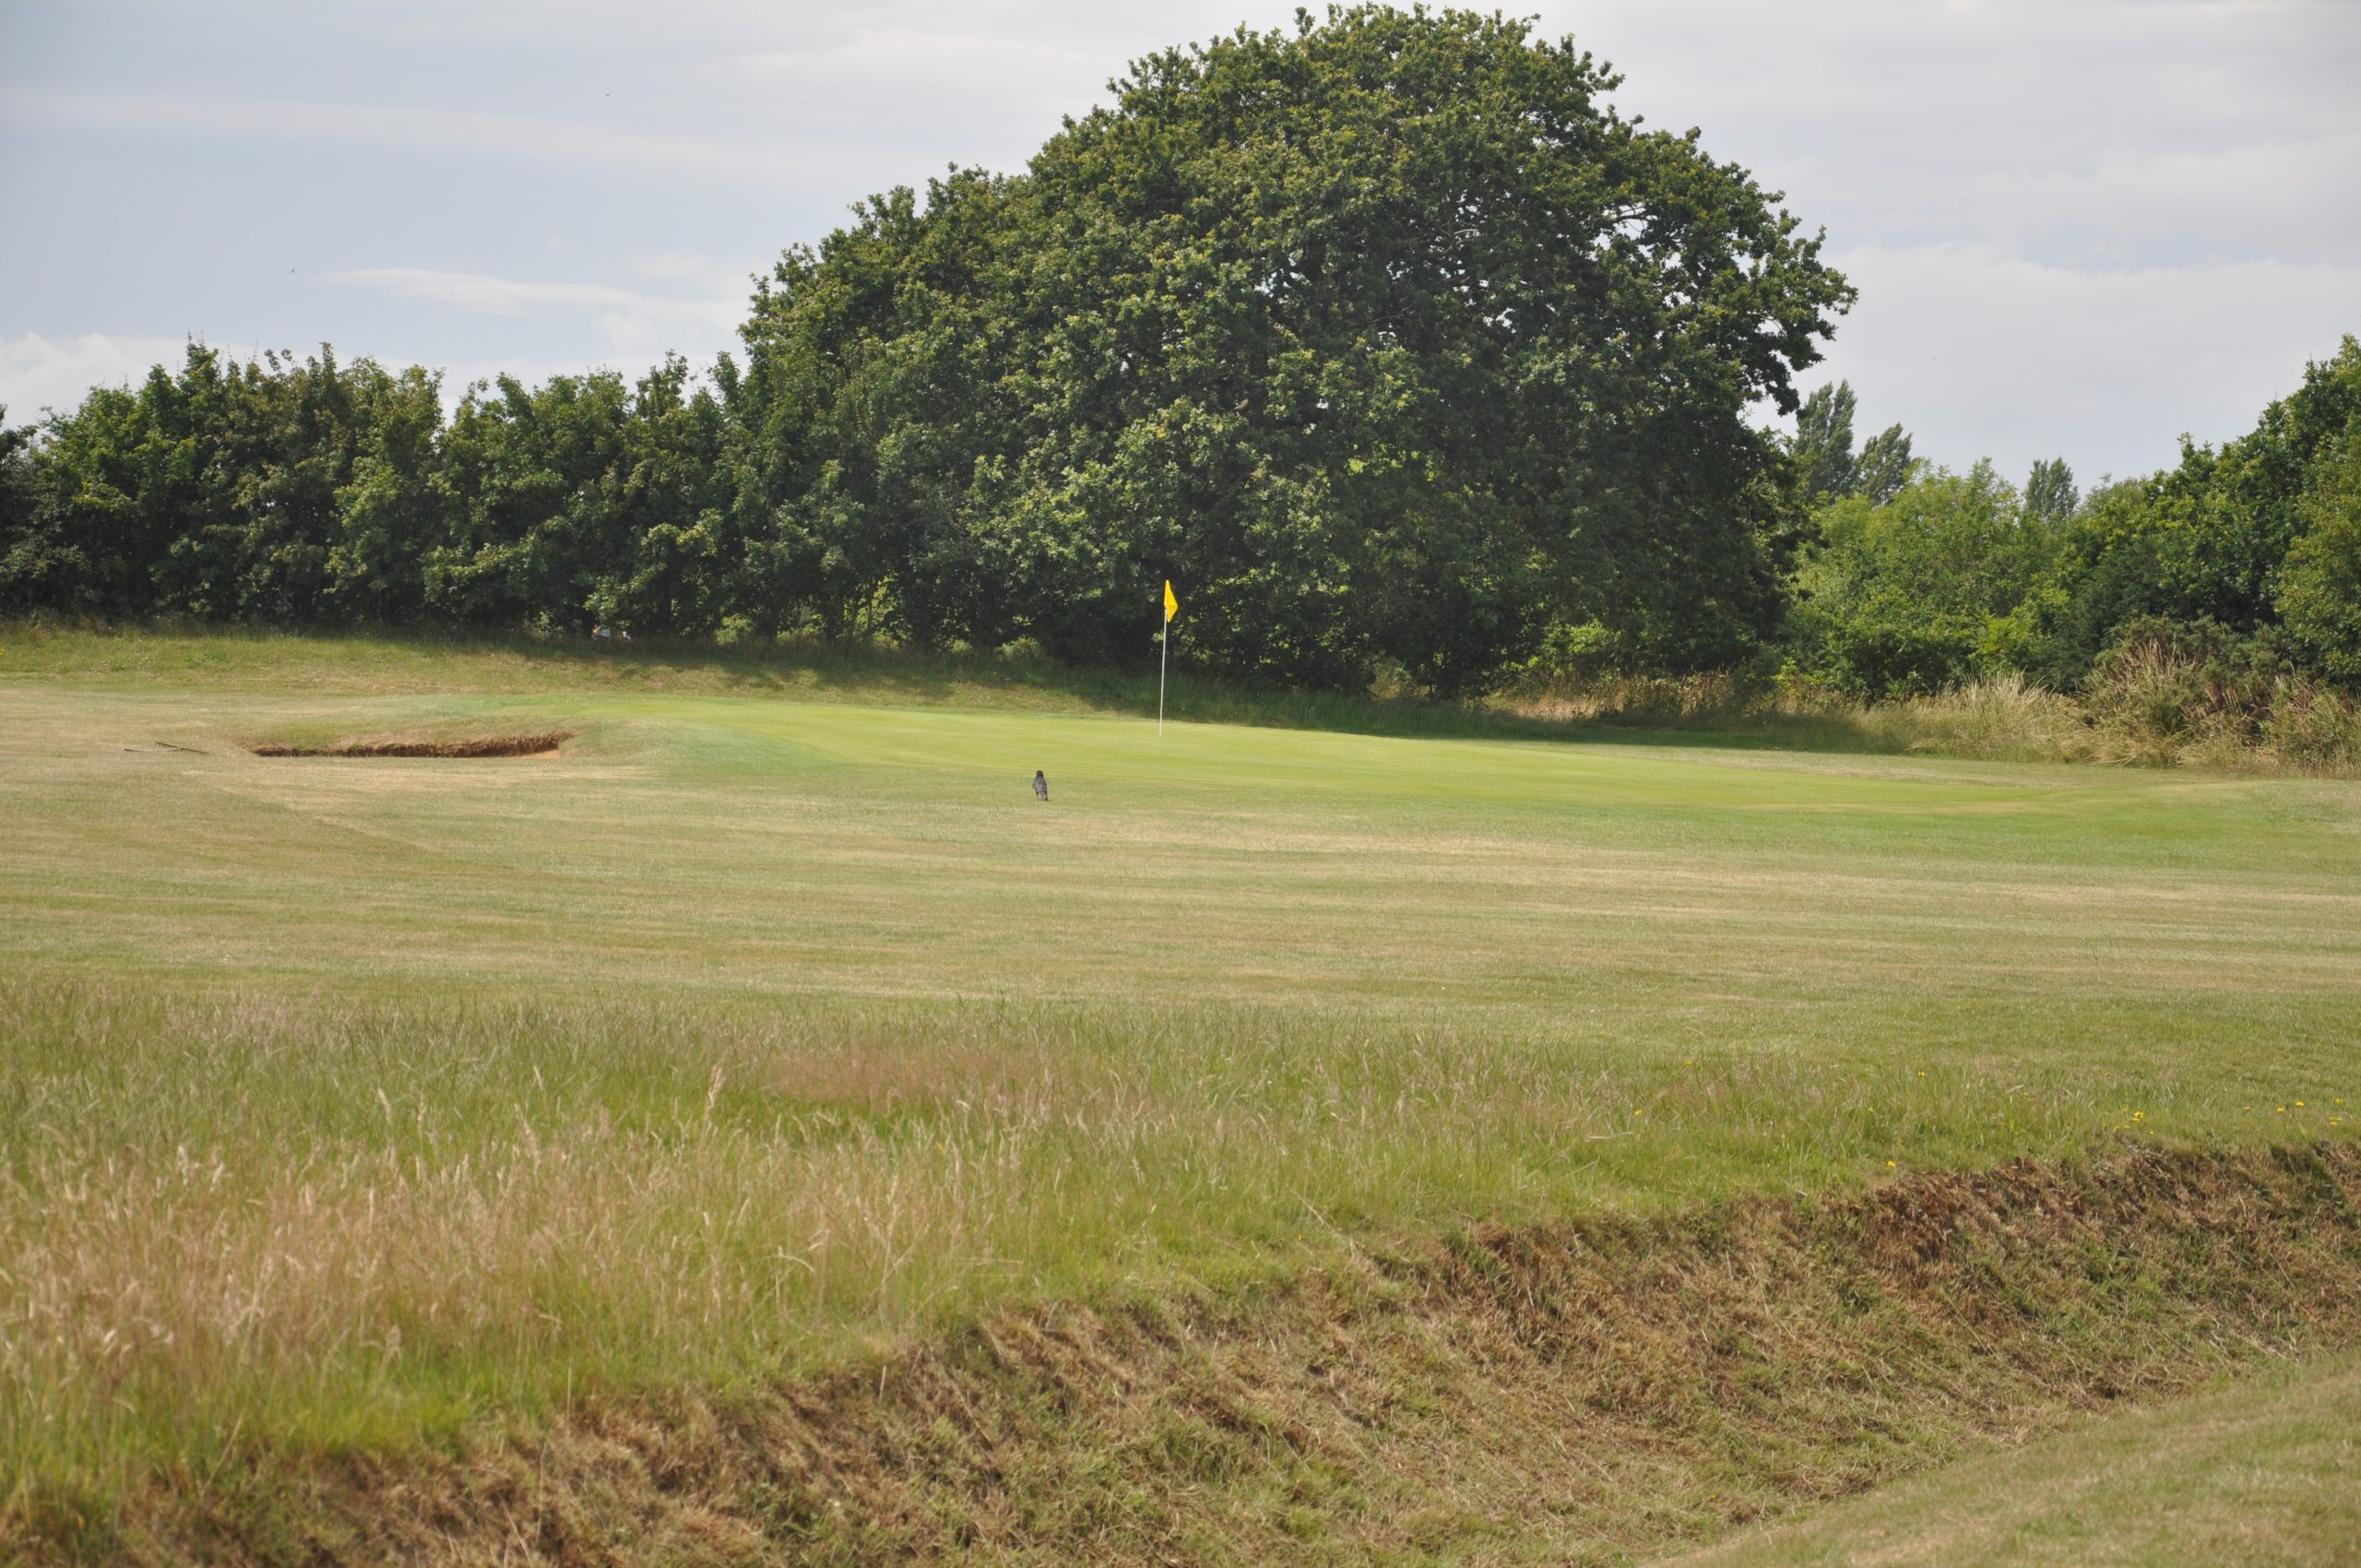
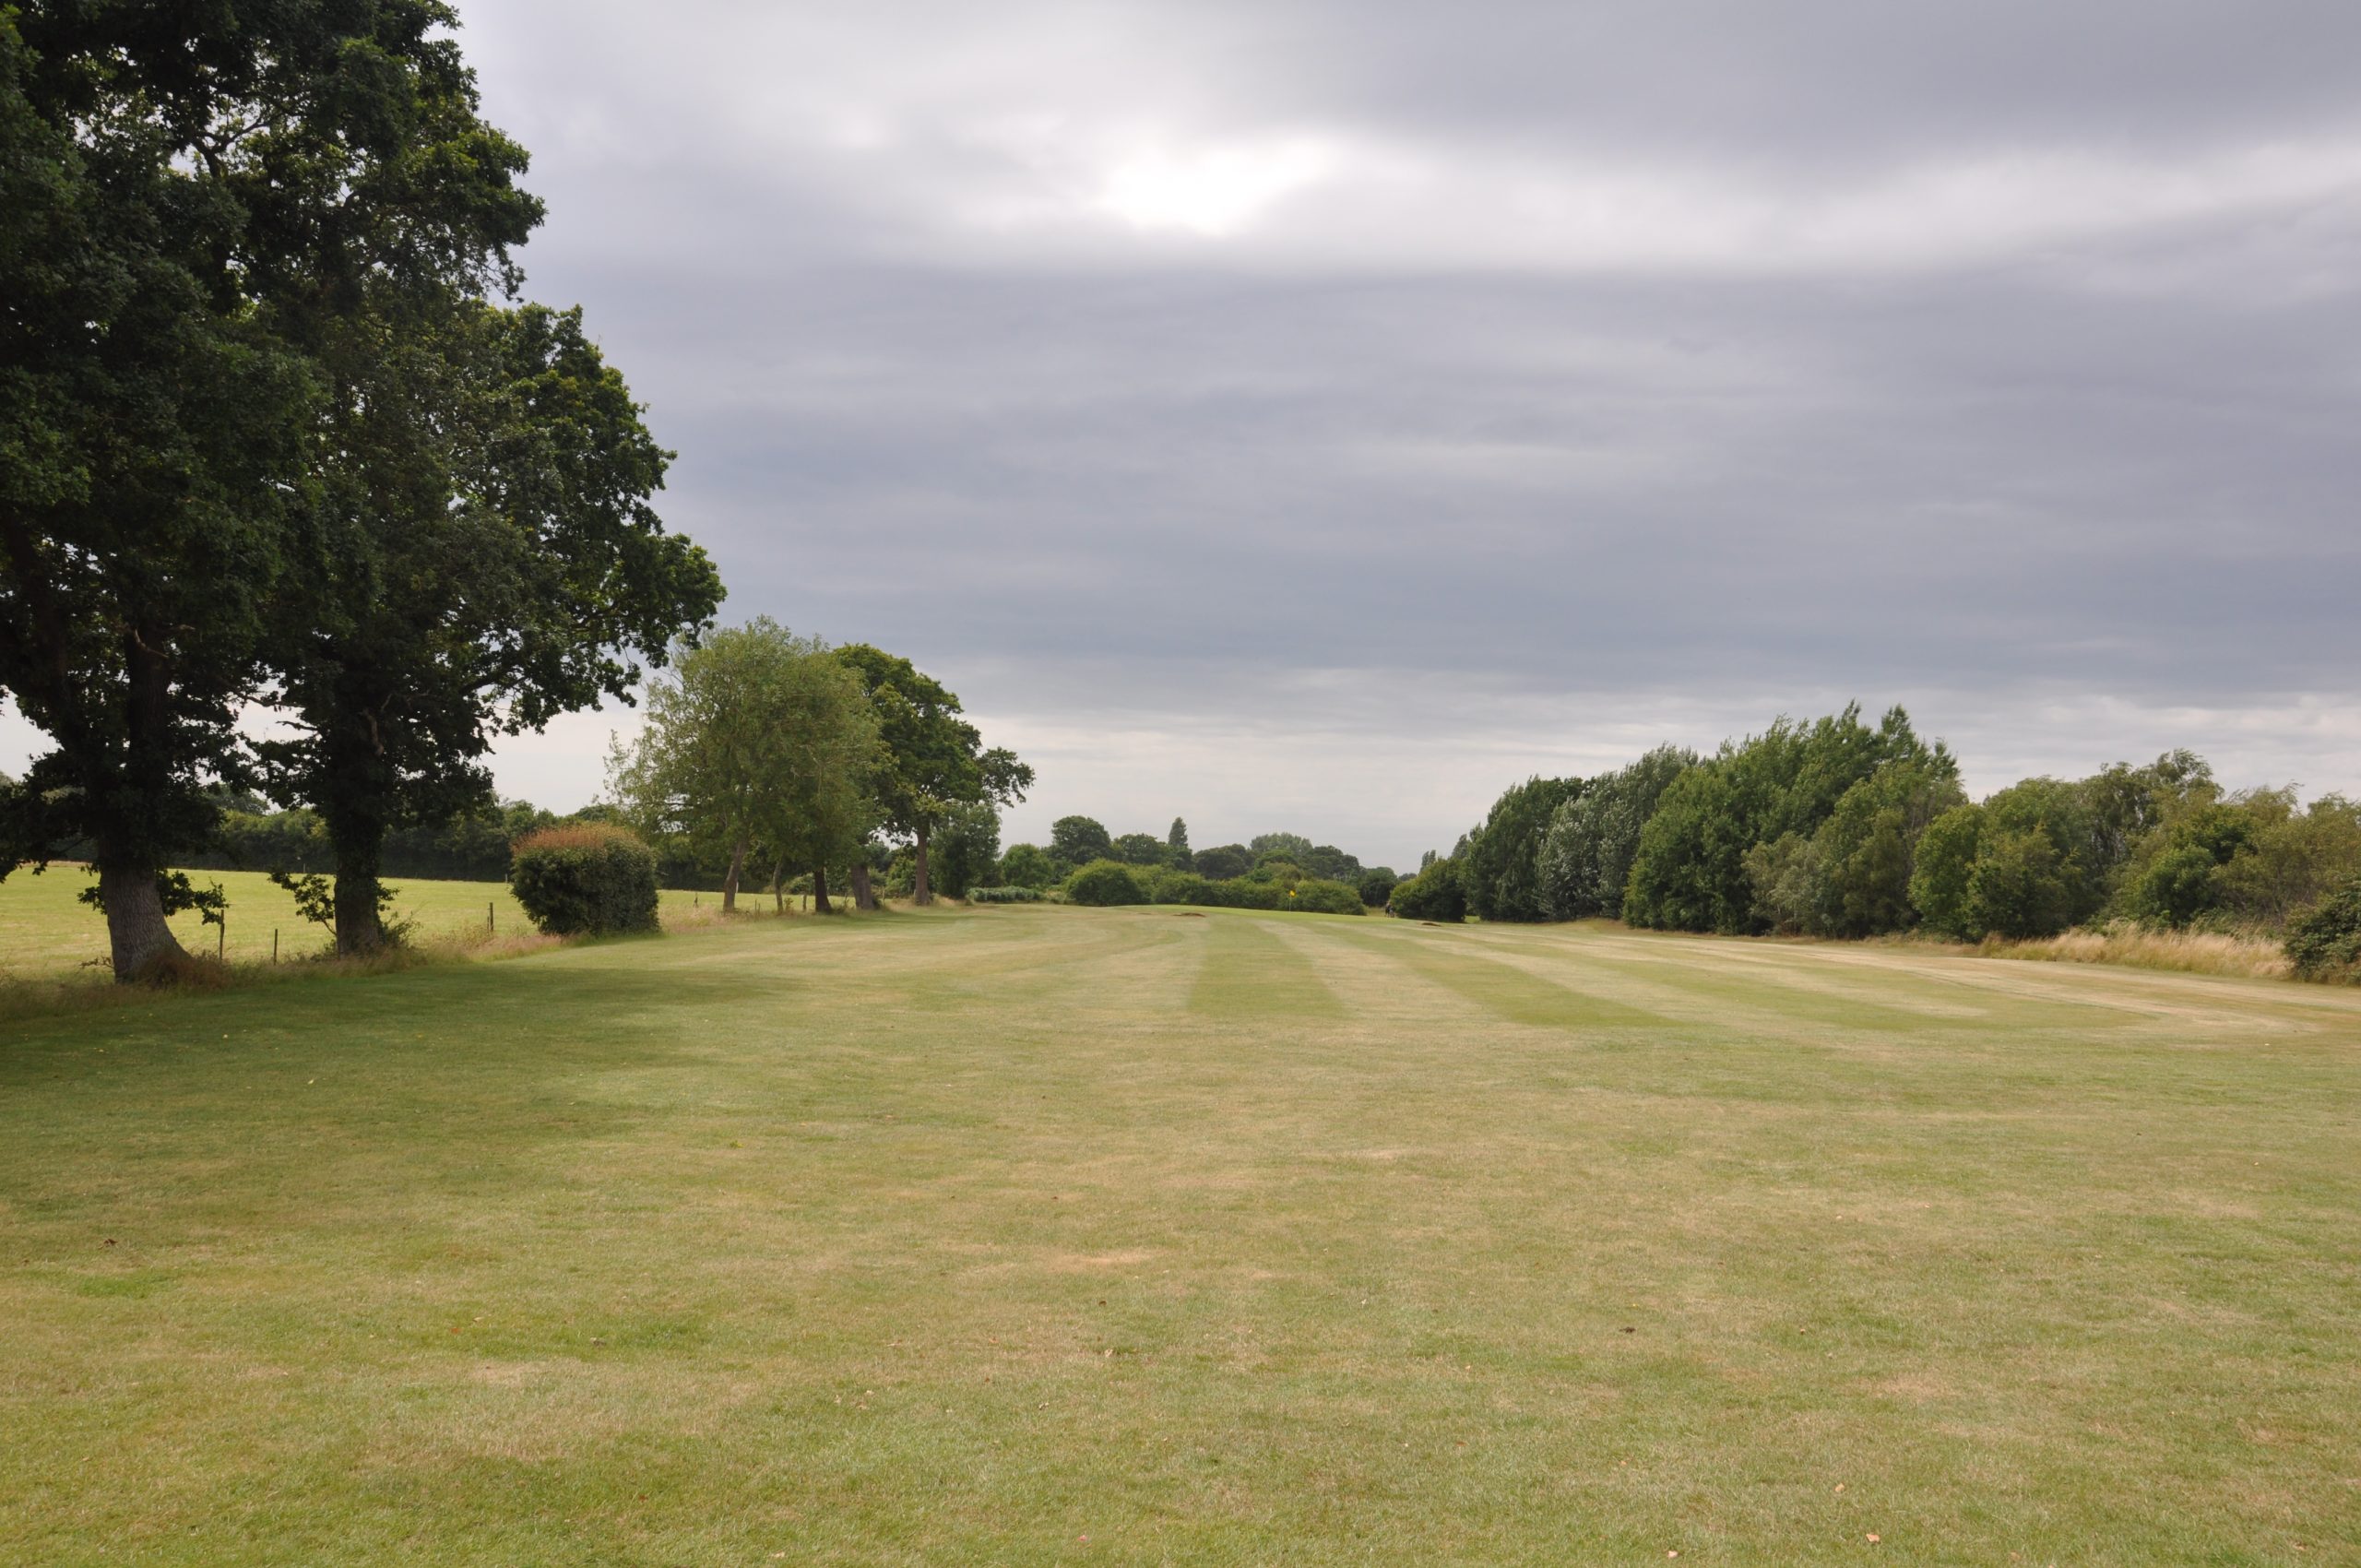
Hole 4 and 13 Par 4
Yardage: White 336, Yellow 328, Red 319
Stroke index: 13 & 14
A short par 4 with a horizontal ditch running down and across the fairway with a slightly raised green.

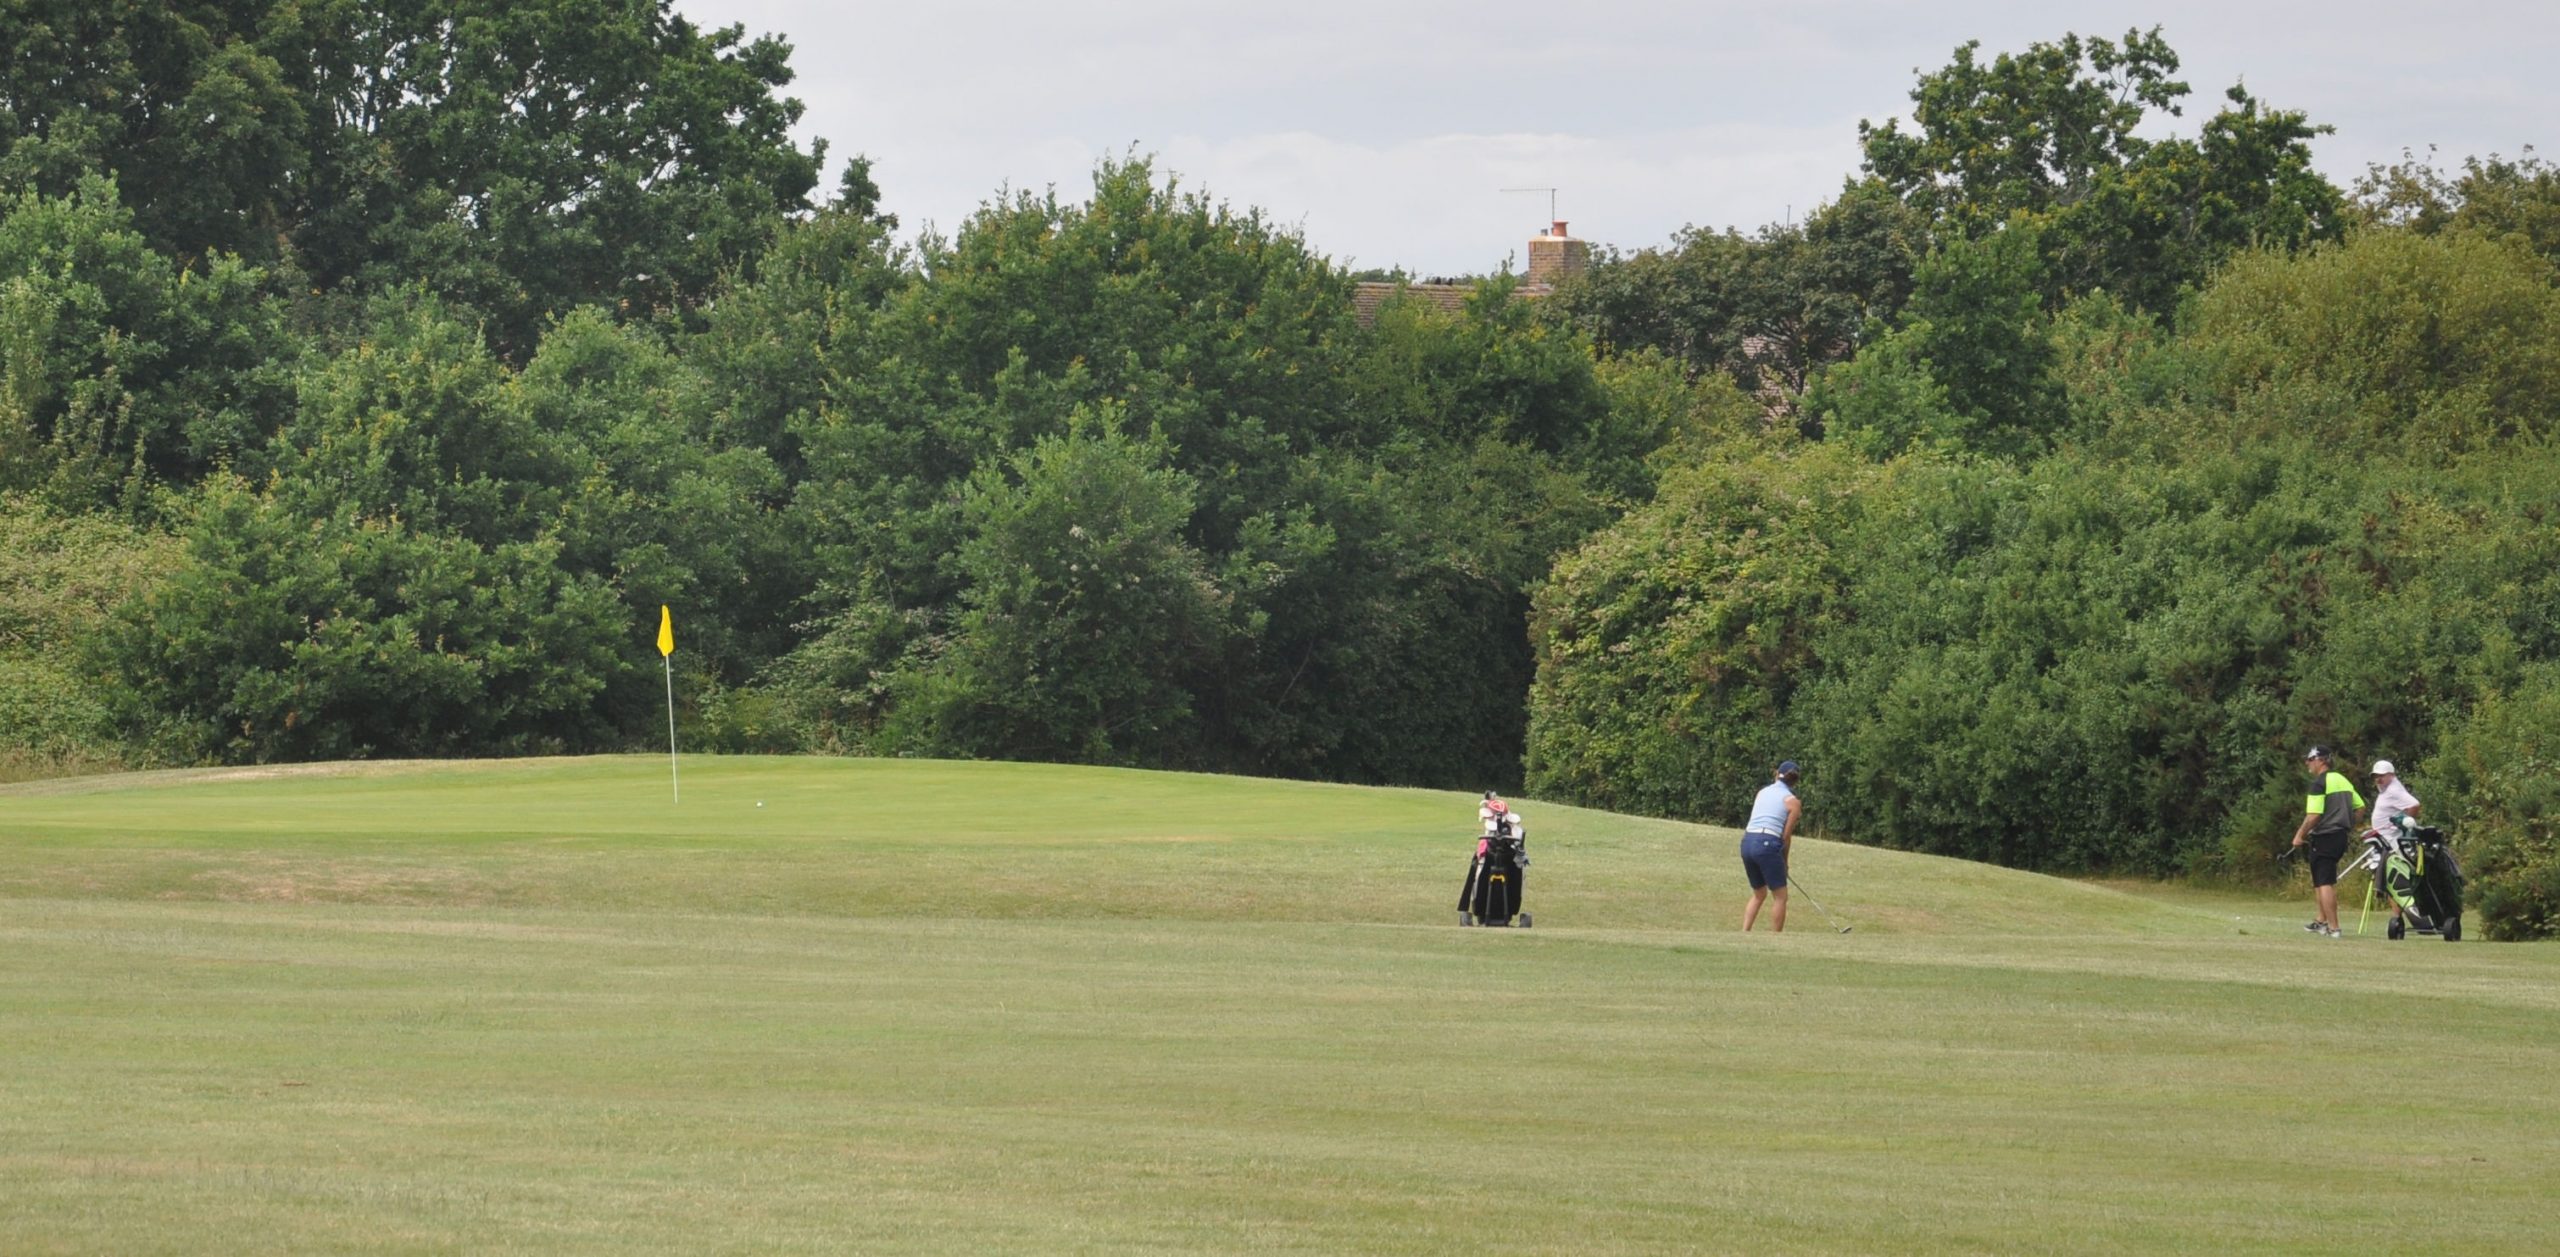
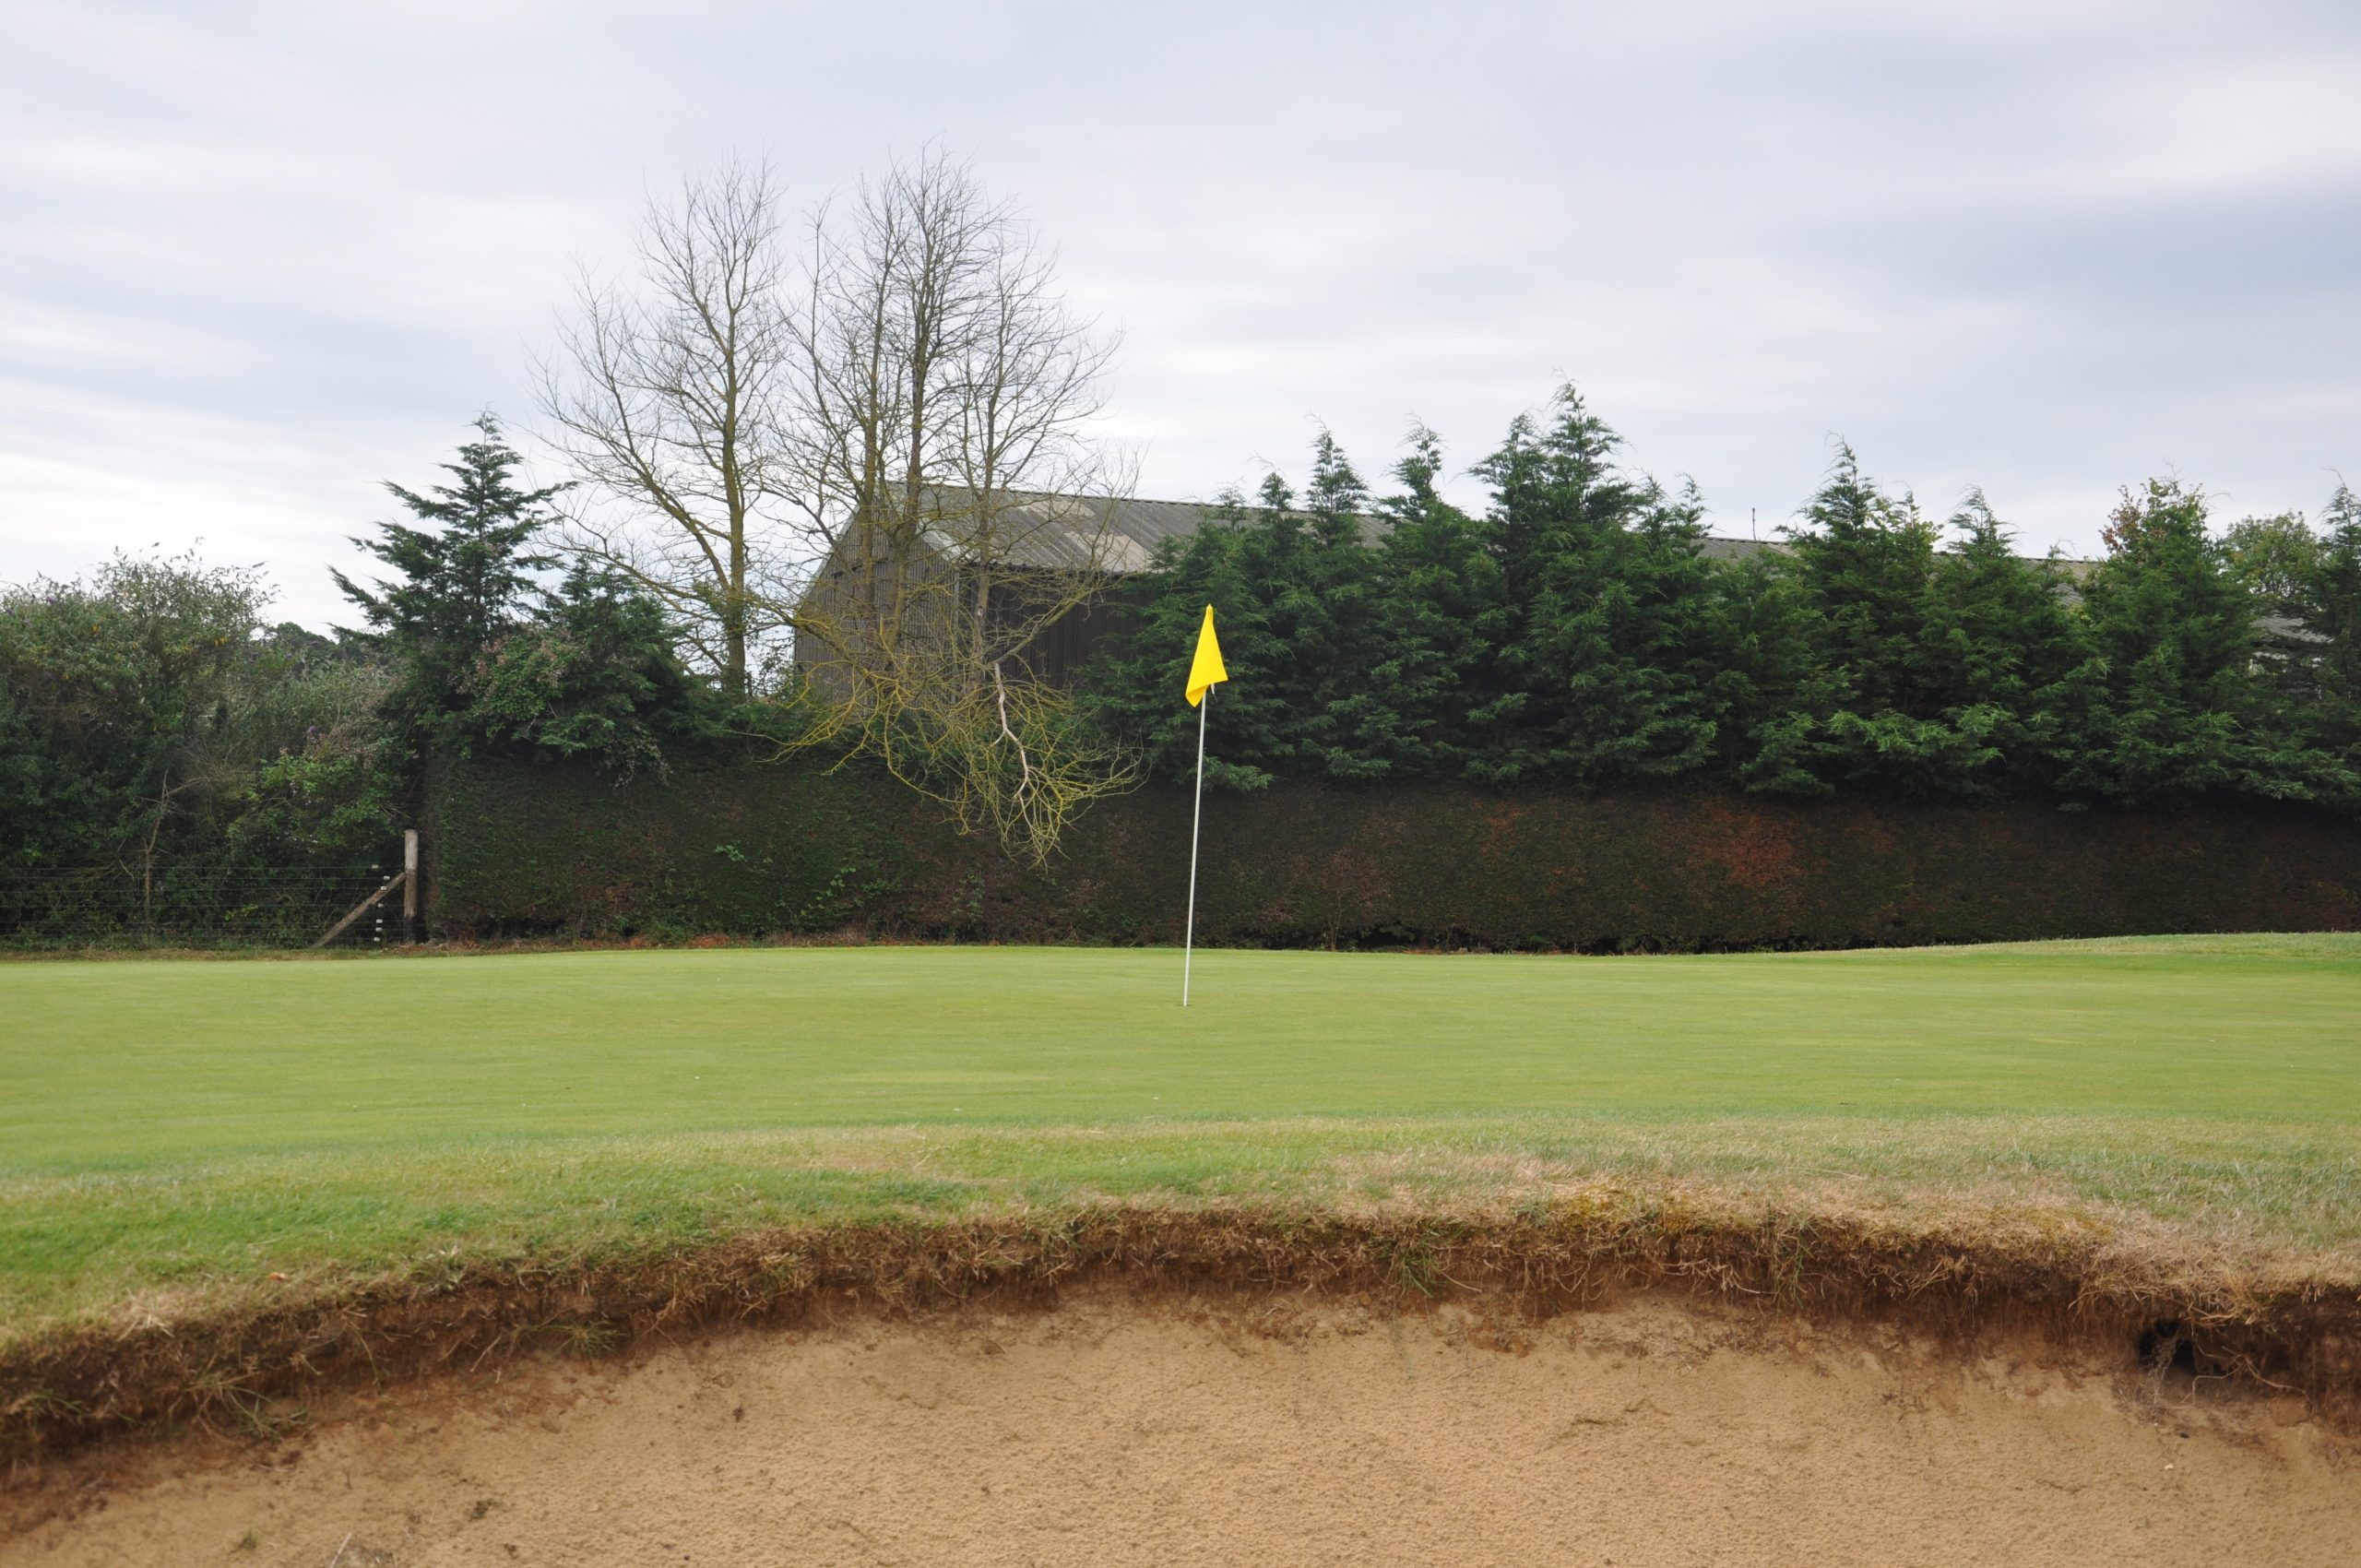
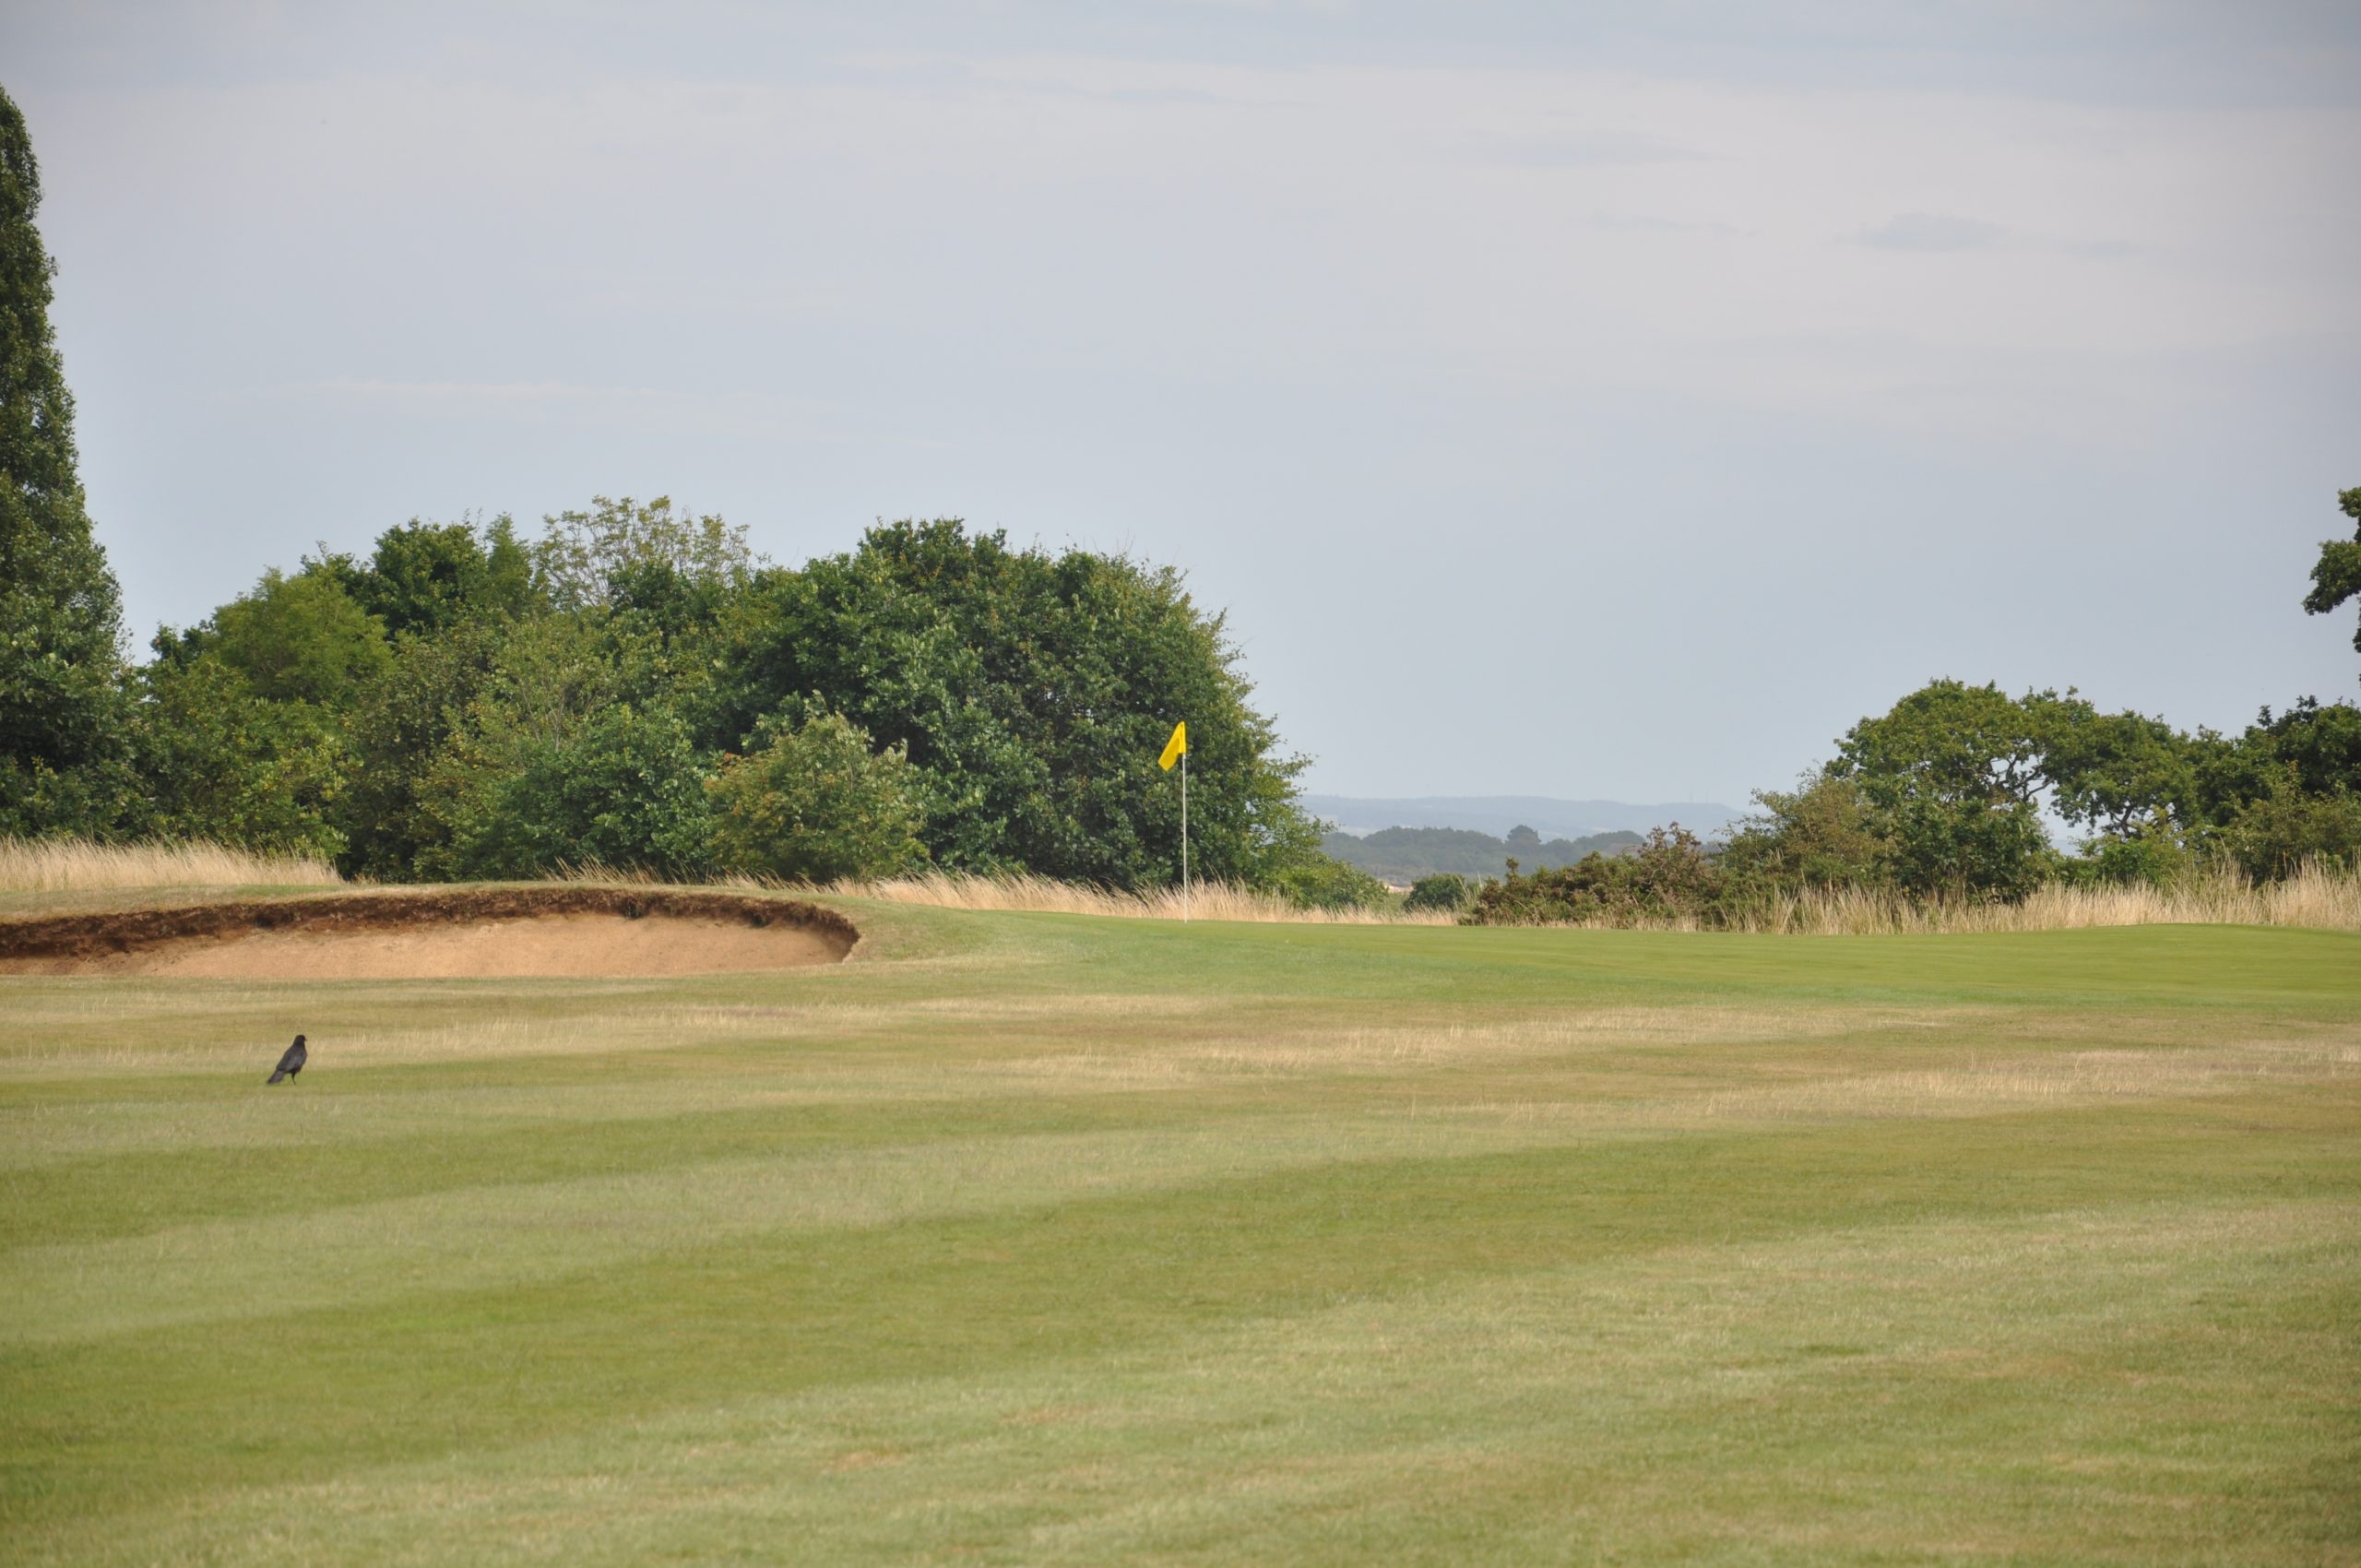
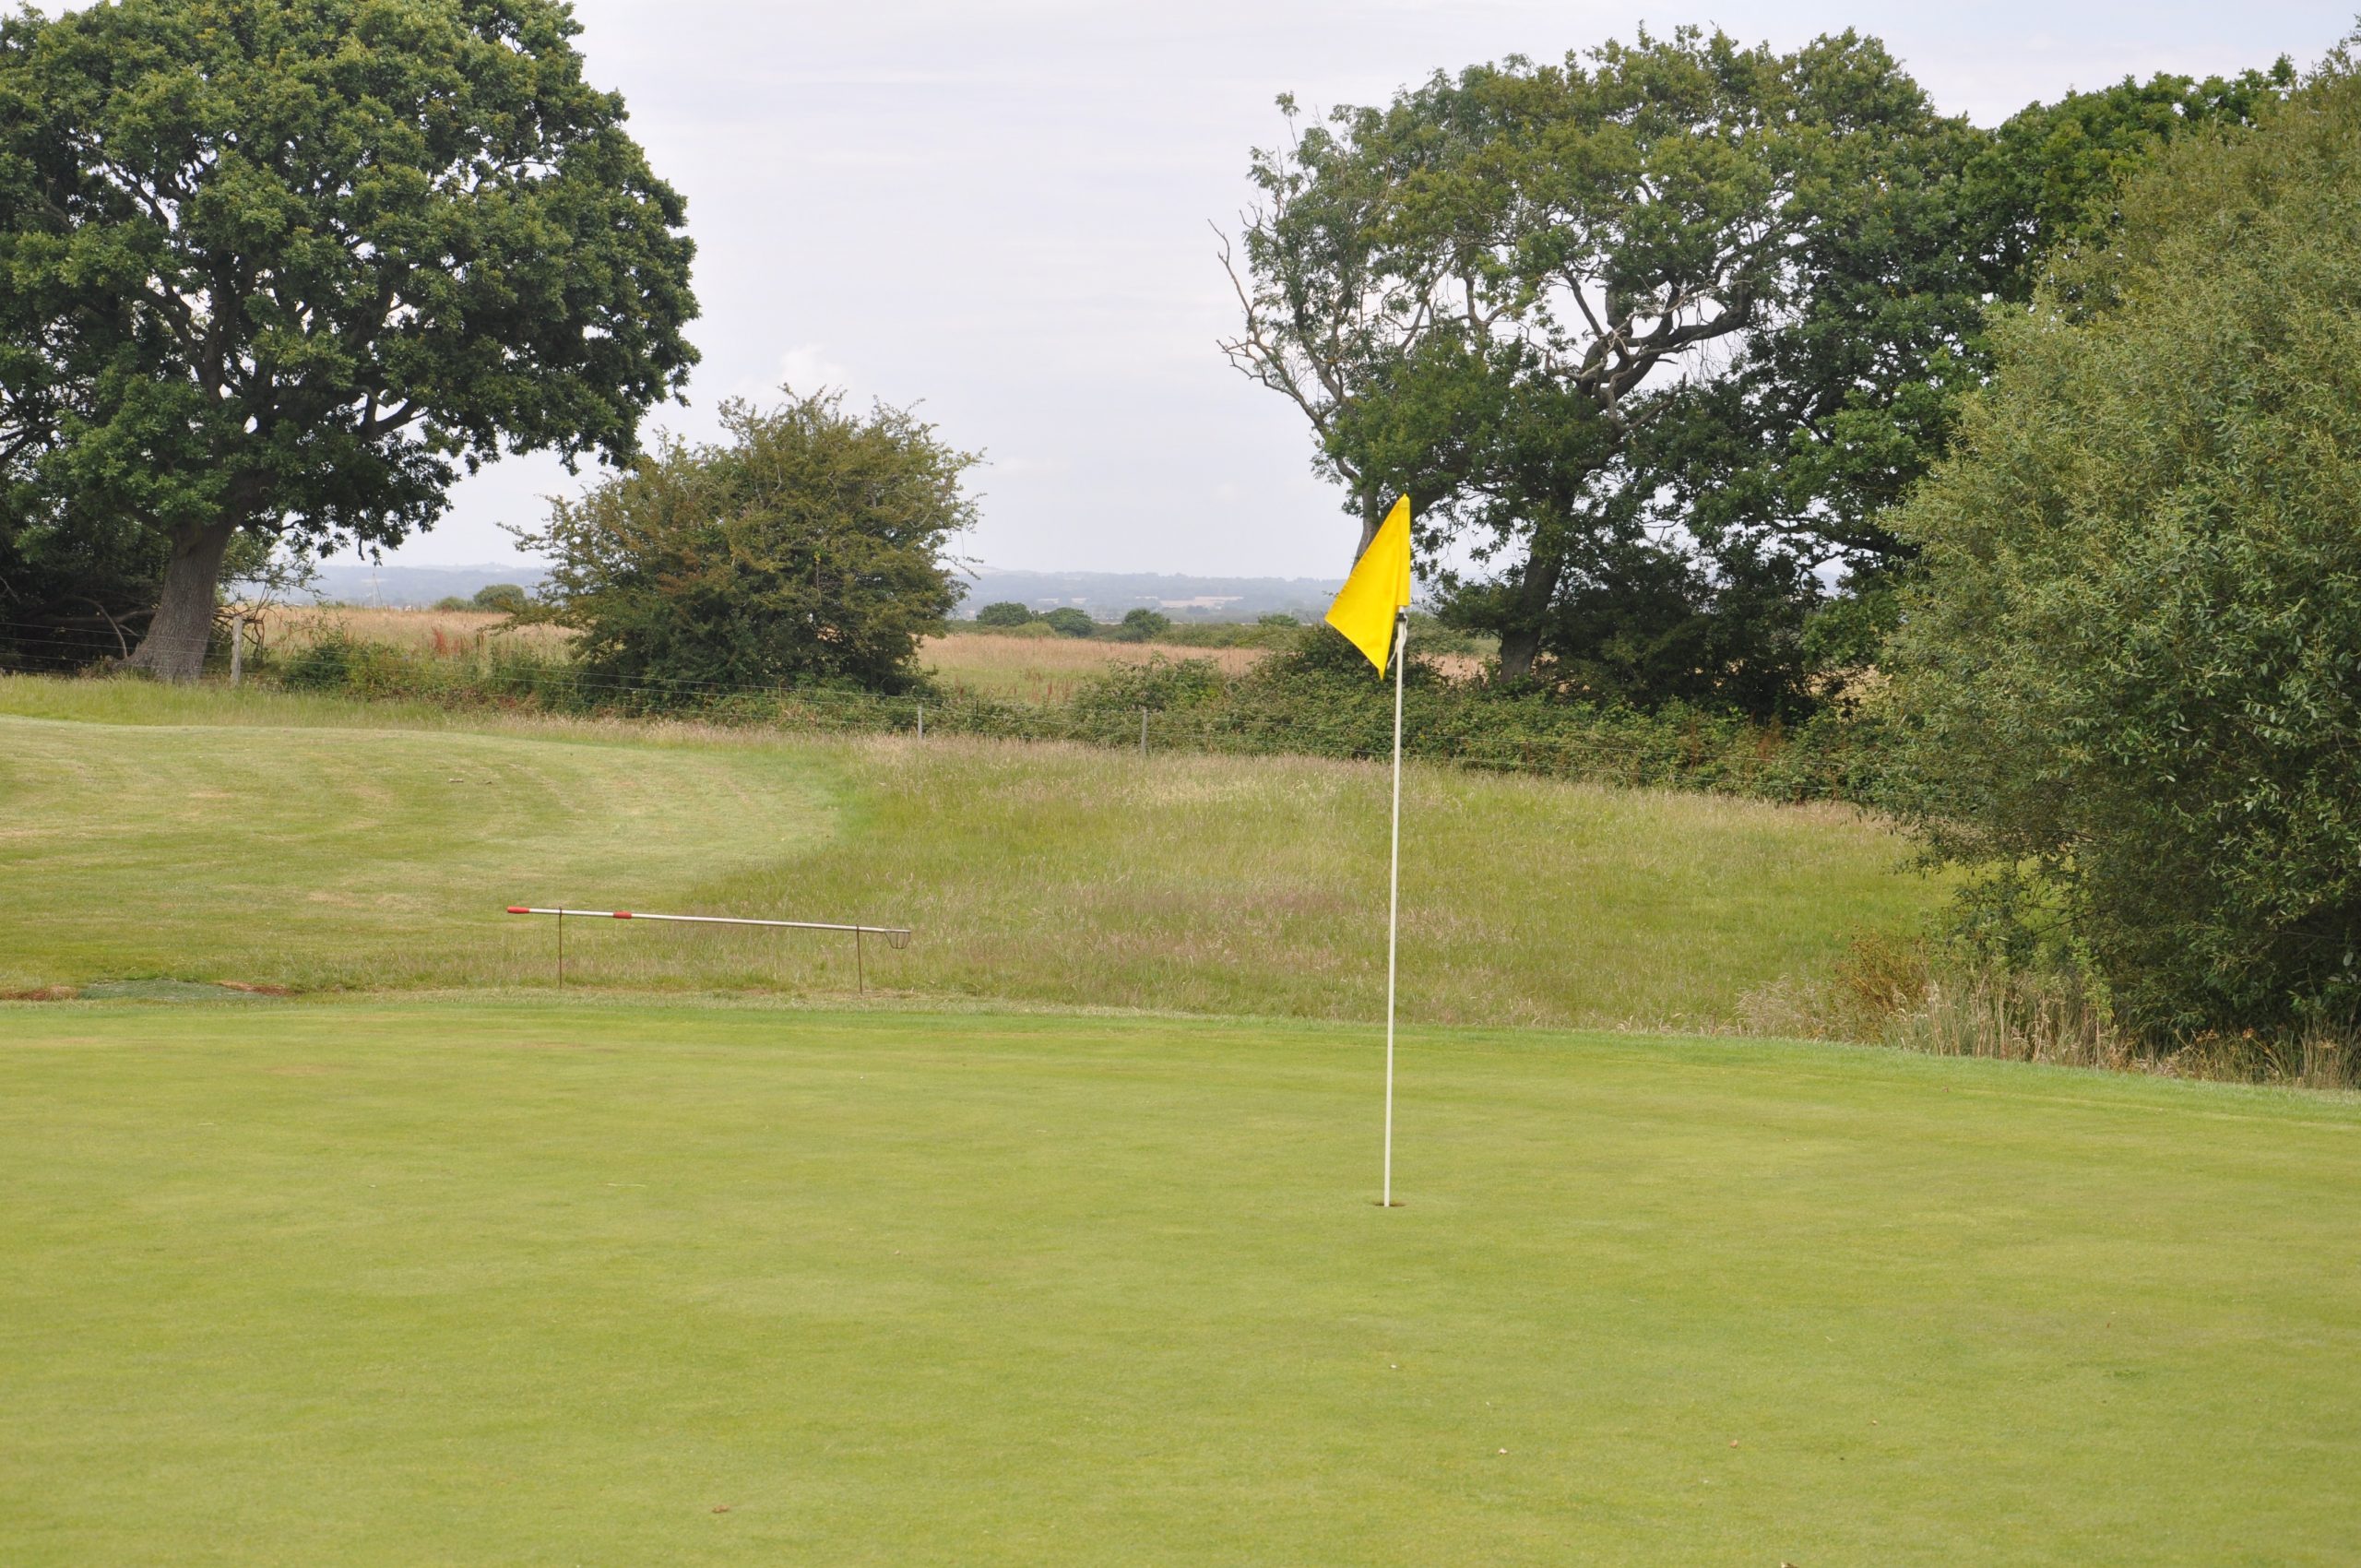
Hole 5 and 14 Par 3
Yardage: White 132, Yellow 125, Red 118
Stroke index: 17 & 18
A short but tricky par 3 that requires a precise tee shot to get close to the hole.
The green slopes from right to left and the deep bunker on the right is ready to swallow up your ball.
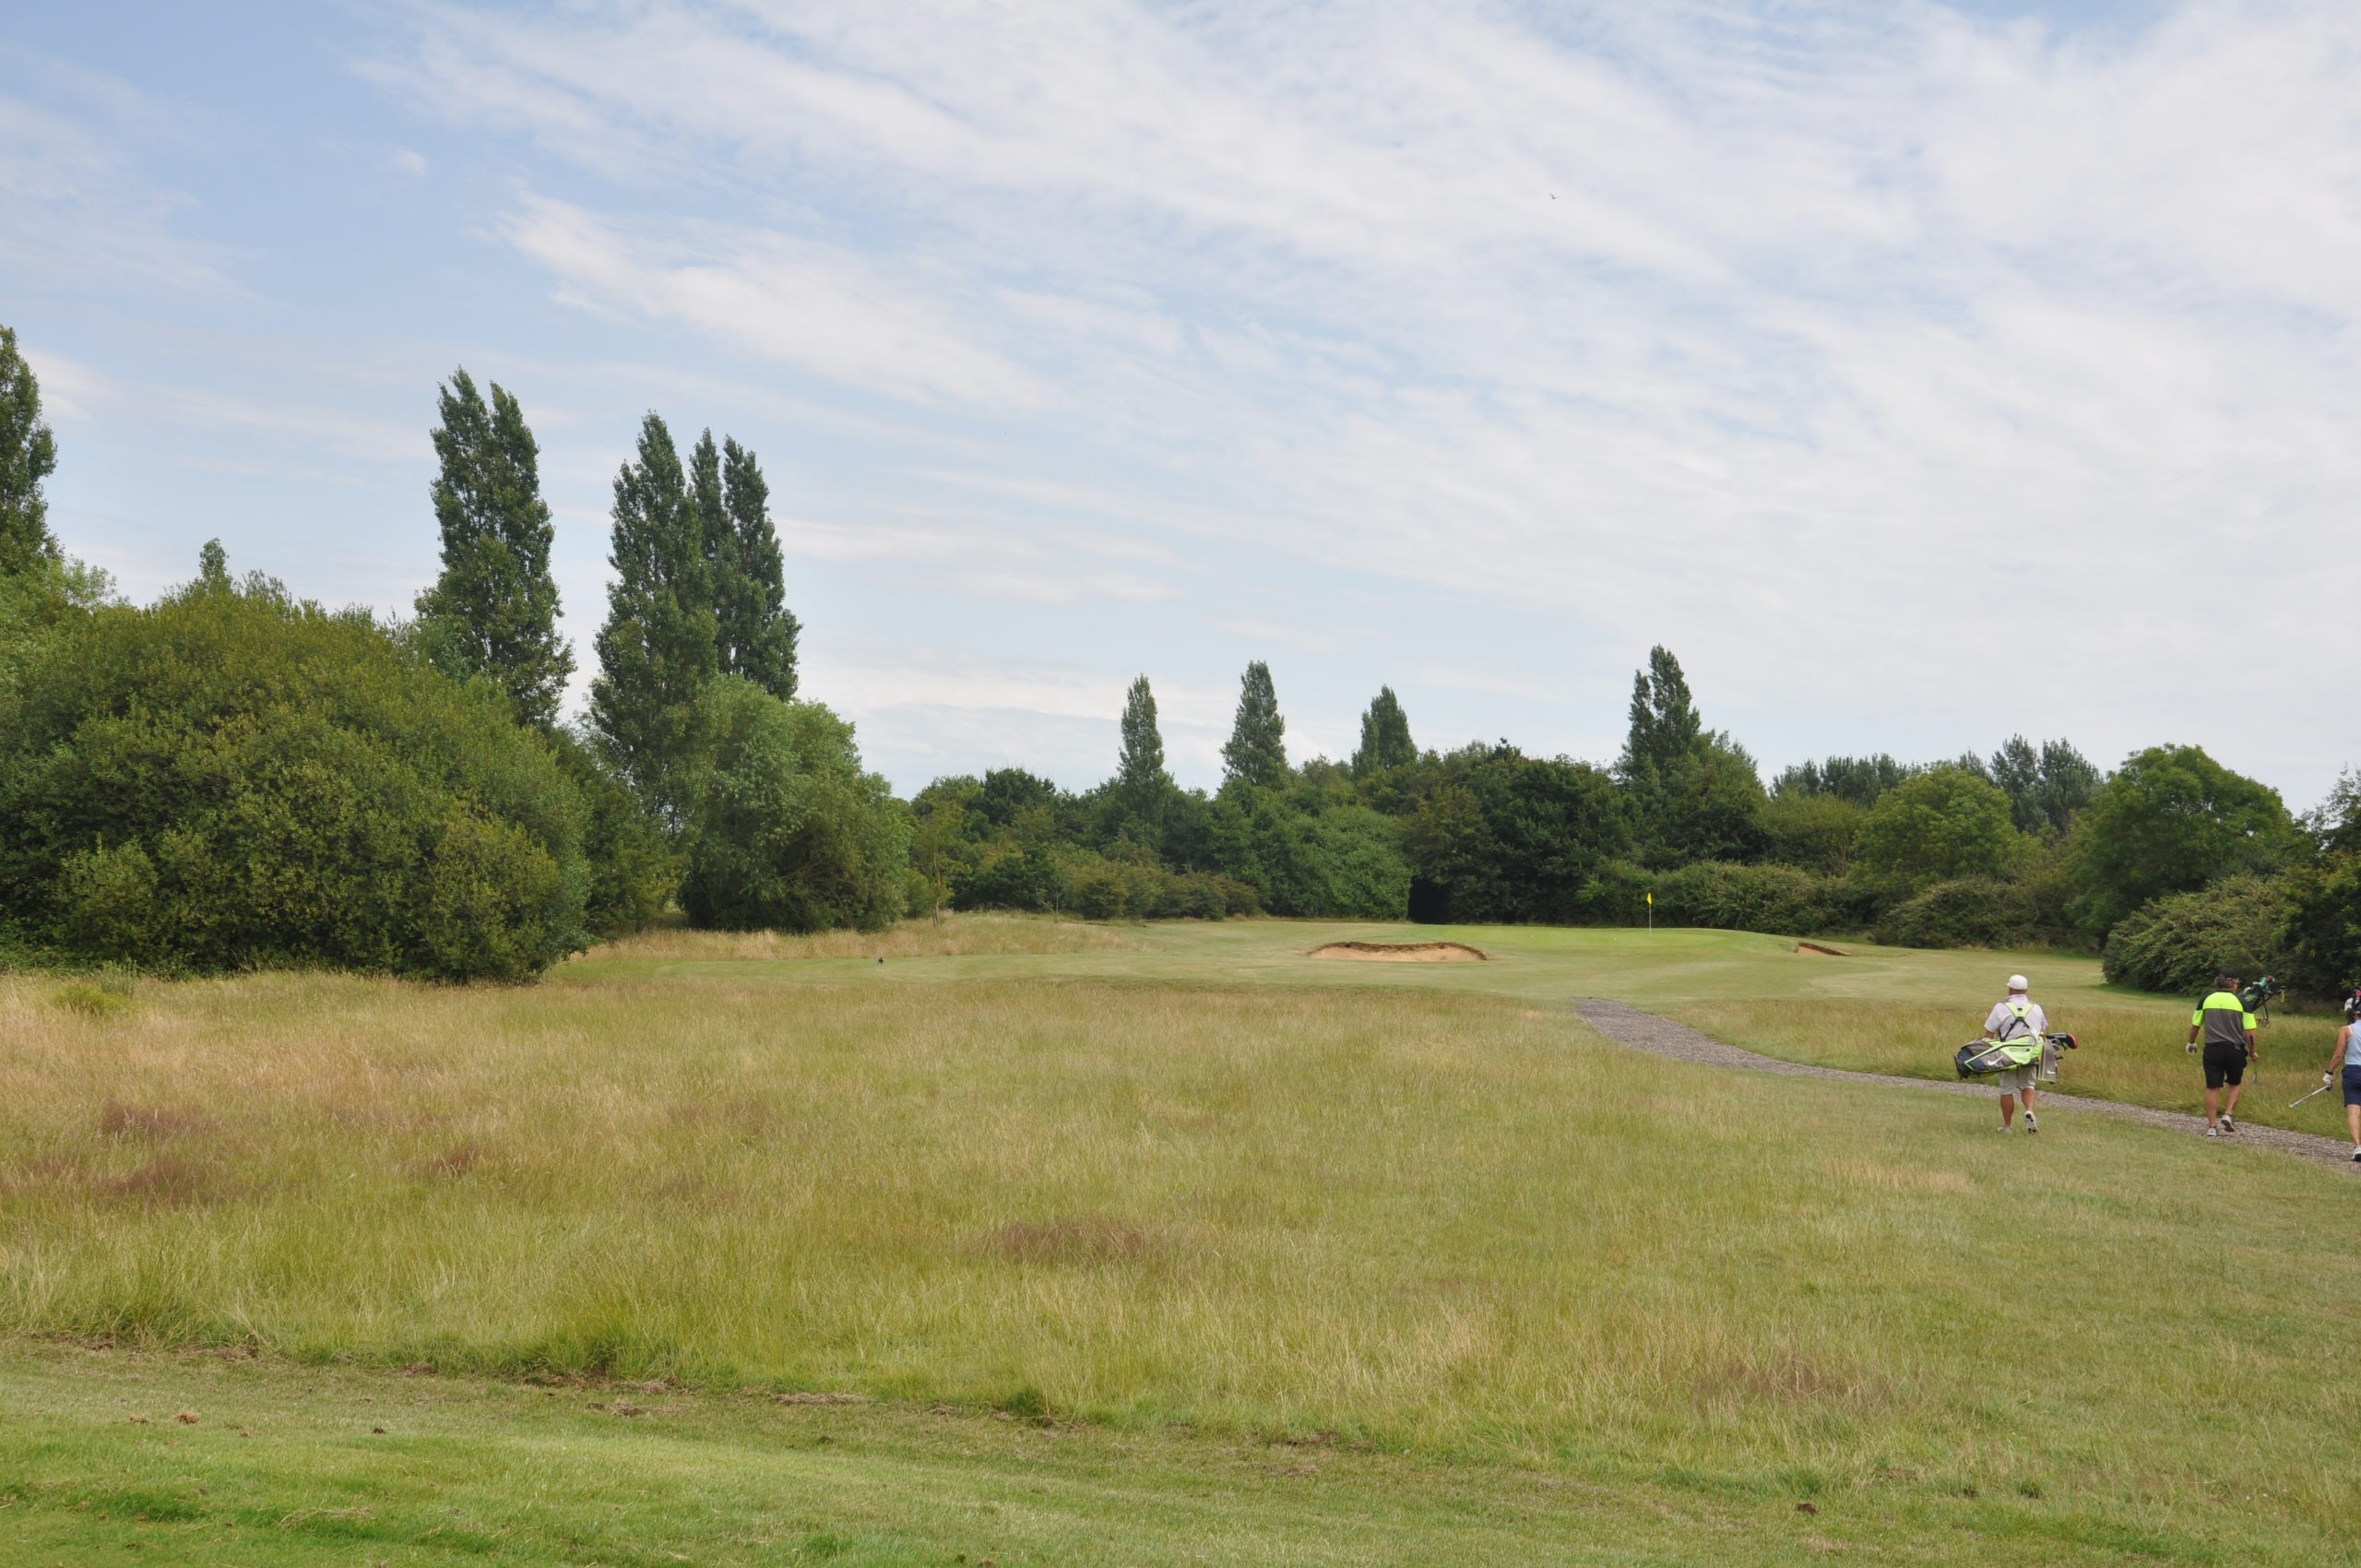
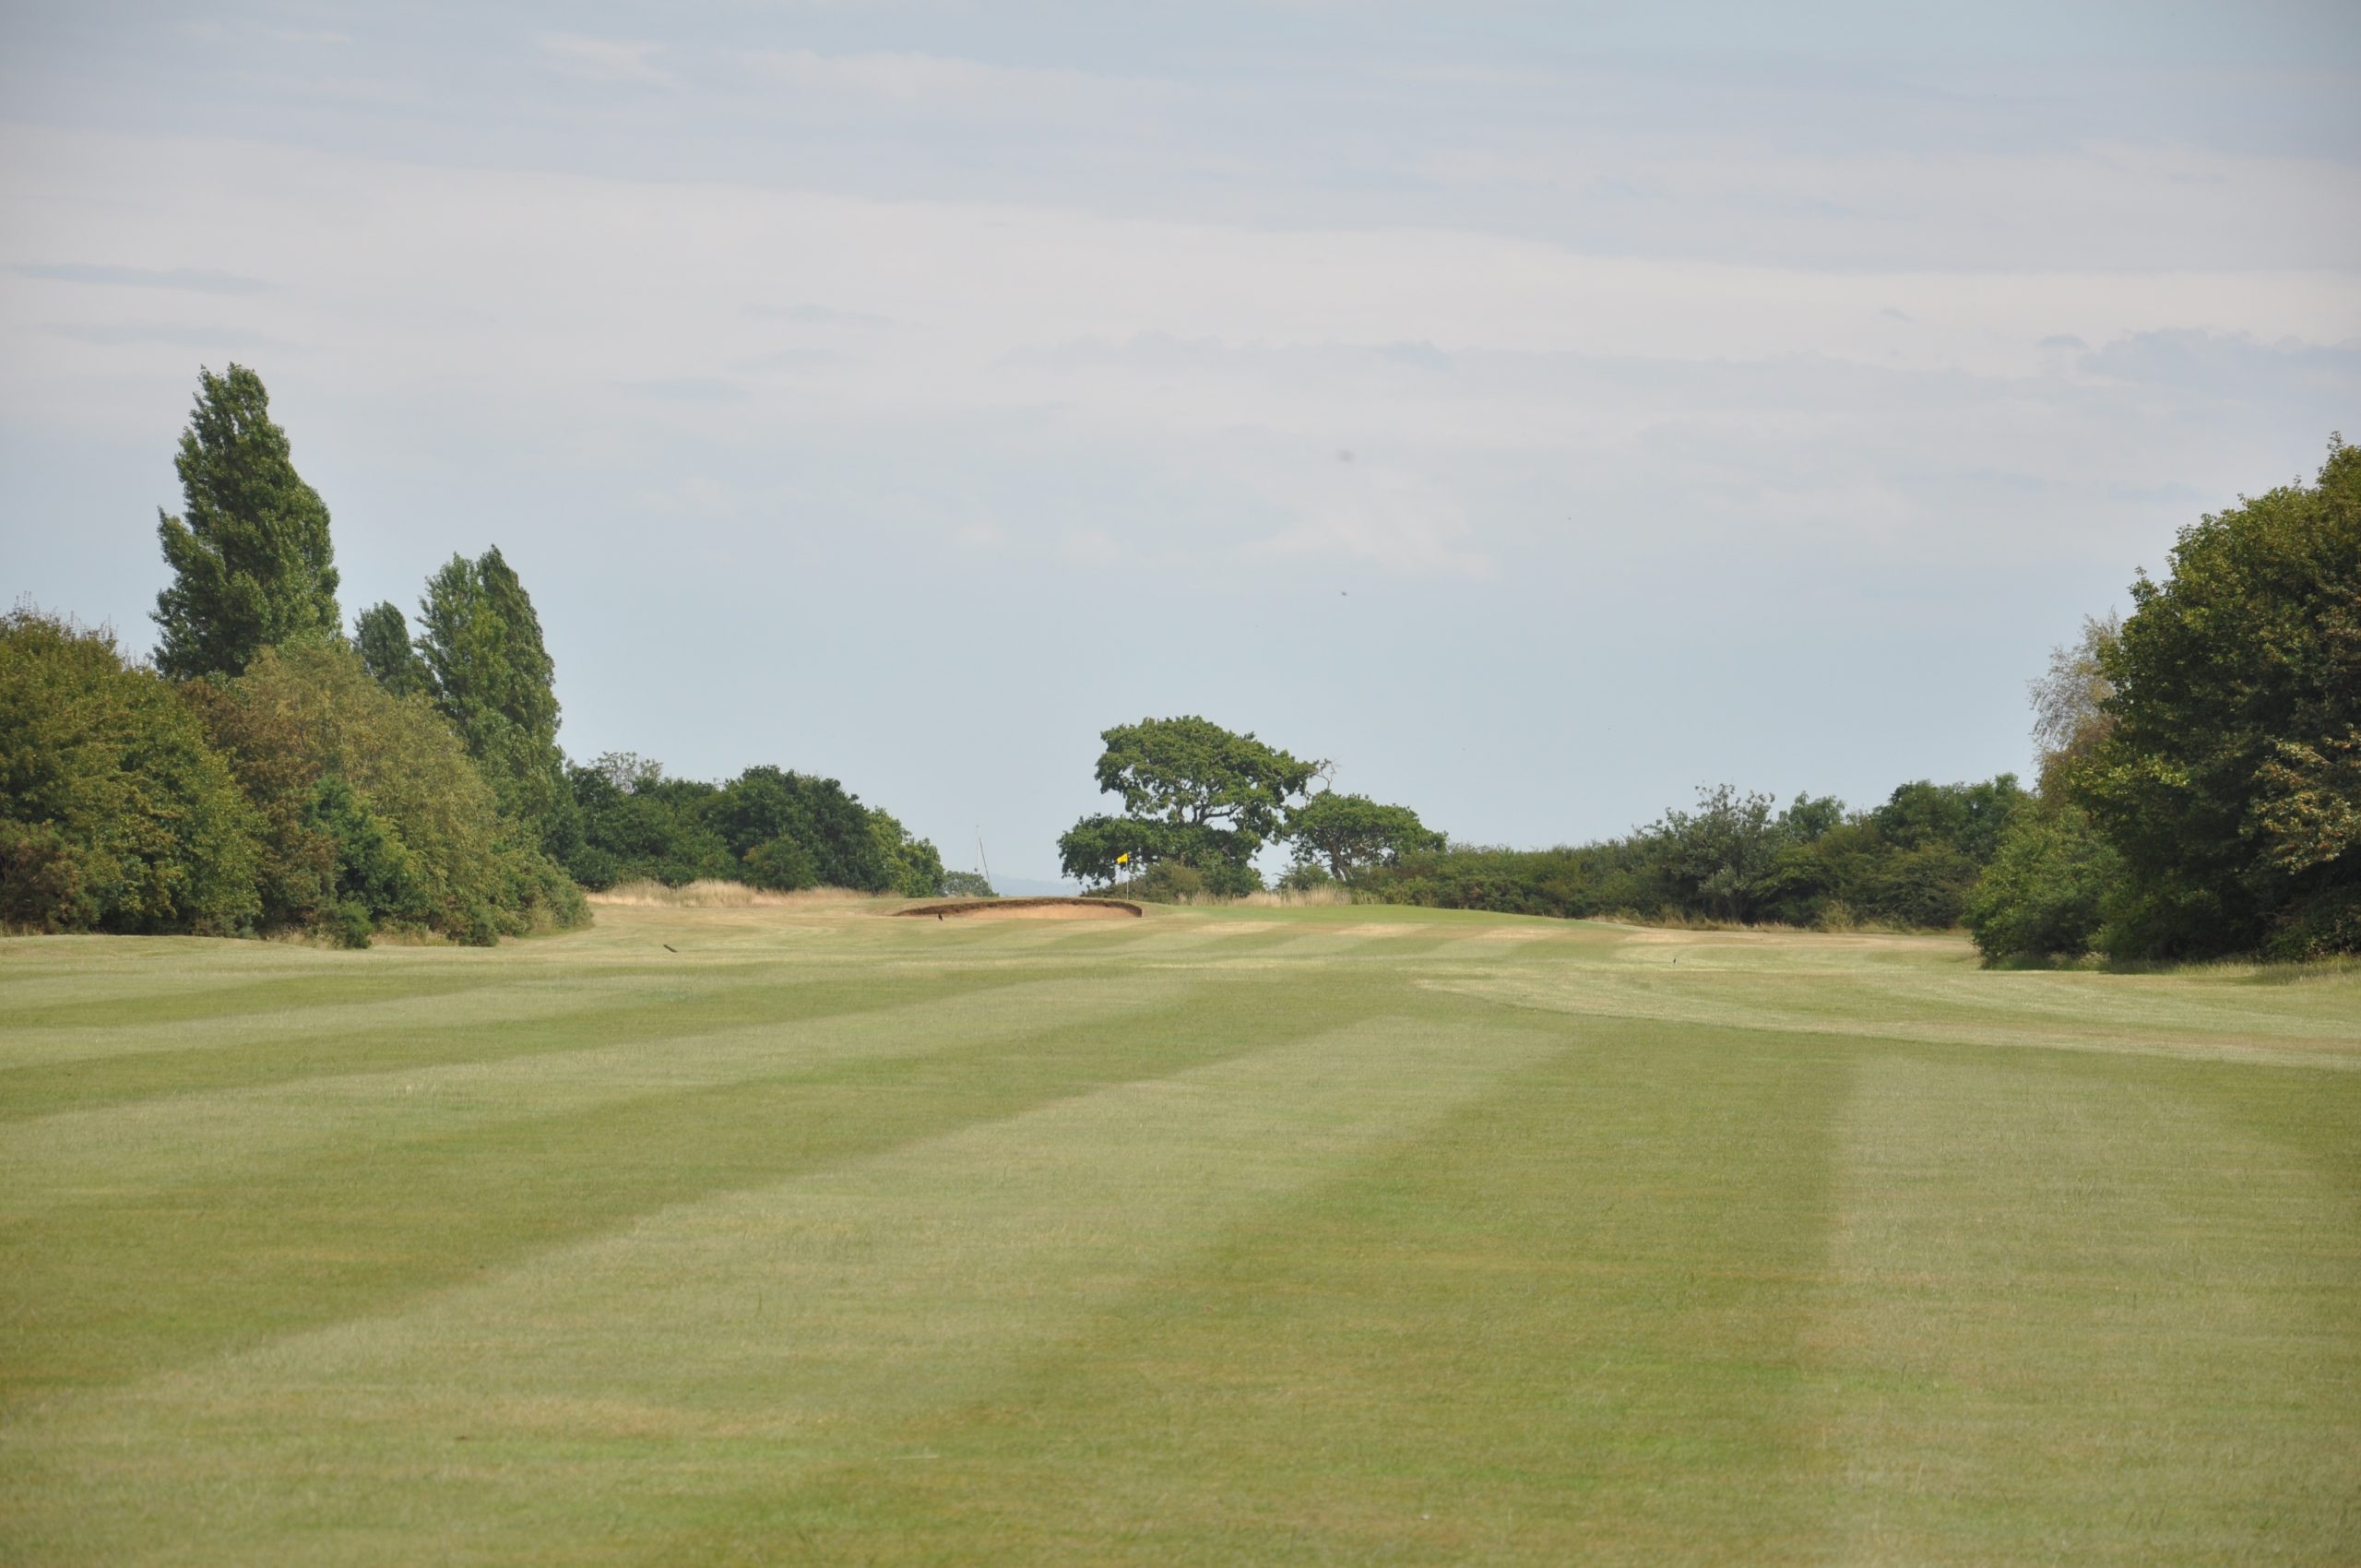
Hole 6 and 15 Par 5
Yardage: White 502, Yellow 470, Red 418
Stroke index: 15 & 16
A straight slightly uphill par 5. The fairway is narrow and requires the tee shot to be hit well if you want to reach the green in two.
The green slopes back to front. A deep bunker in front of the green is a challenge for your approach shot.
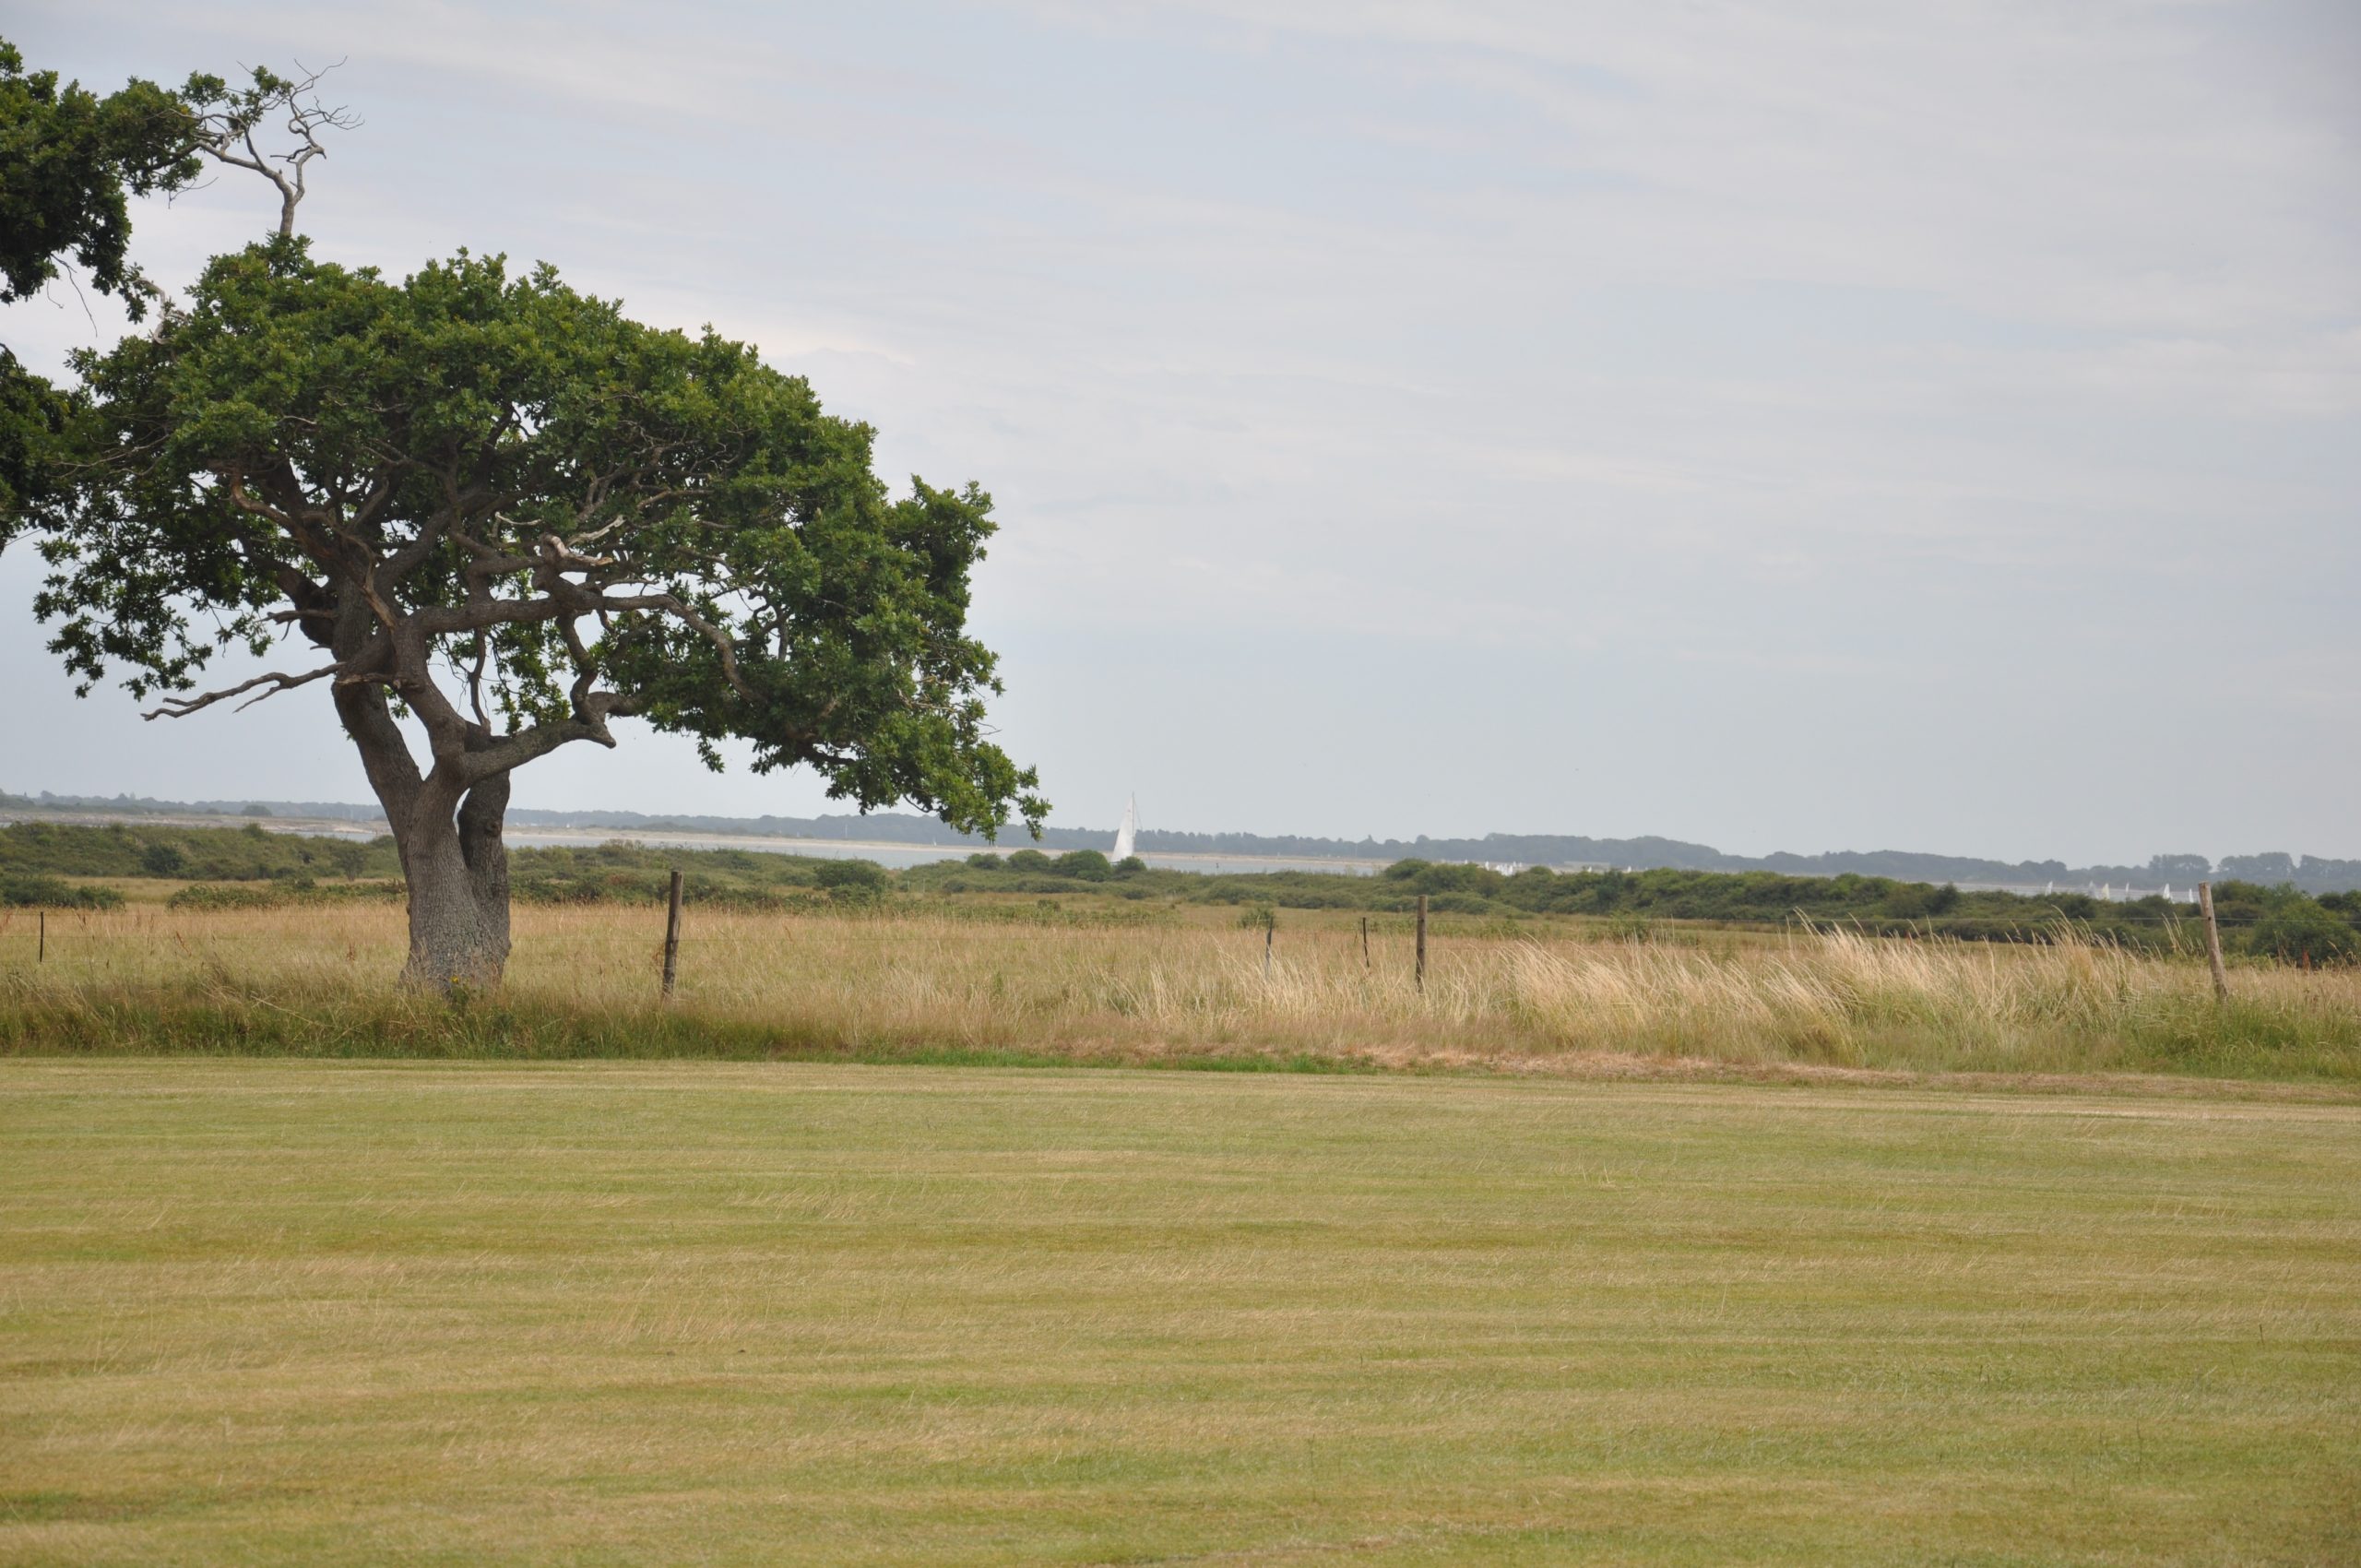
Hole 7 and 15 Par 4
Yardage: White 348, Yellow 338, Red 273
Stroke index: 5 & 6
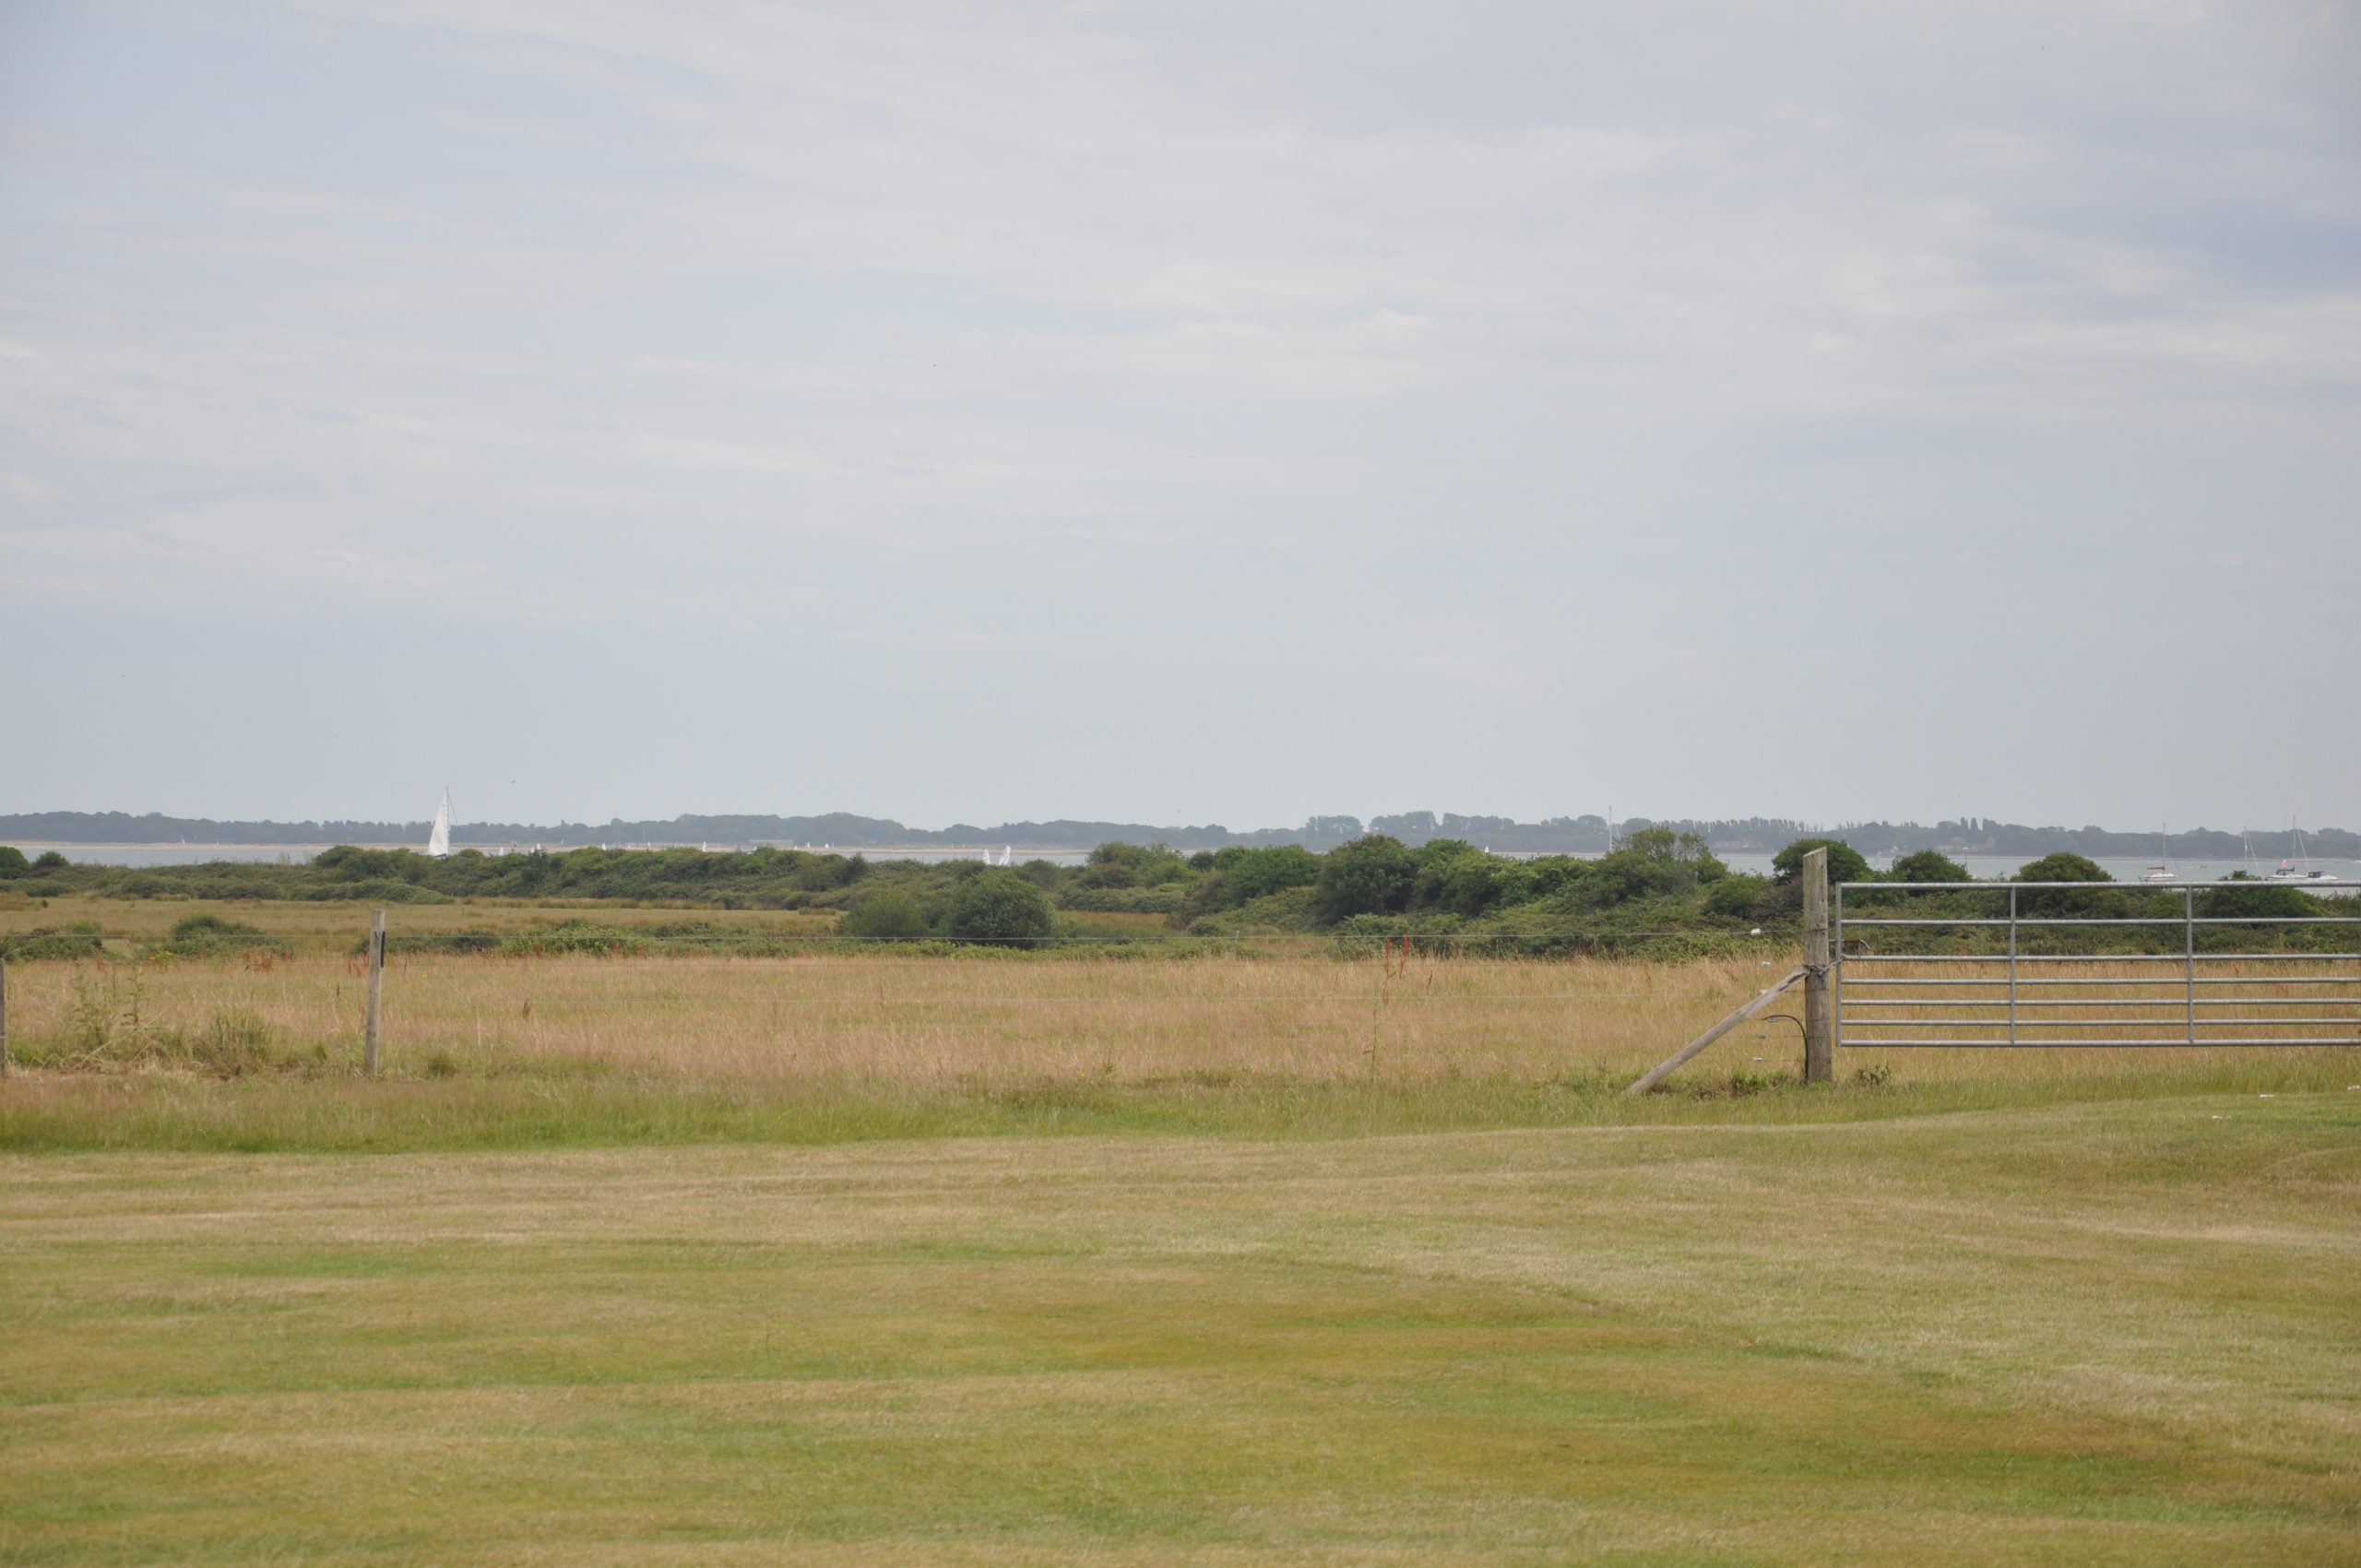
Take a moment to look and enjoy the views on the left of this beautiful par 4 hole.
The tee shot is a challenge as you will not see the ball land.
The shot to the green is over a ditch and a pond which is left of the green.

Hole 8 and 17 Par 3
Yardage: White 208, Yellow 200, Red 195
Stroke index: 3 & 4
The eighth hole is the longest, toughest and most challenging Par 3 on the course.
The tee shot is usually into the wind and requires a very precise tee shot.
The field to the left of the fairway is out of bounds and to hit the green in regulation takes great skill.
There are bunkers left and right protecting the green.
Hole 9 and 18 Par 4
Yardage: White 357, Yellow 350, Red 343
Stroke index: 7 & 8
The 9th hole is a very tough left to right dog leg. Over the white posts right and left of the fairway are out of bounds.
The approach shot to the green is over a ditch and several oak trees may come into play.
Two bunkers either side of the green add to the challenge on this hole.